
For our research on aquaponics, RSA FG, with support from Andersfarm, built a minimal, functional system for indoor use. Our system can serve as a reference point for building your own small system. In this post, we will describe the setup and key components of the system and provide tips for aquaponics beginners on how to create a small DIY-style system.
Framework
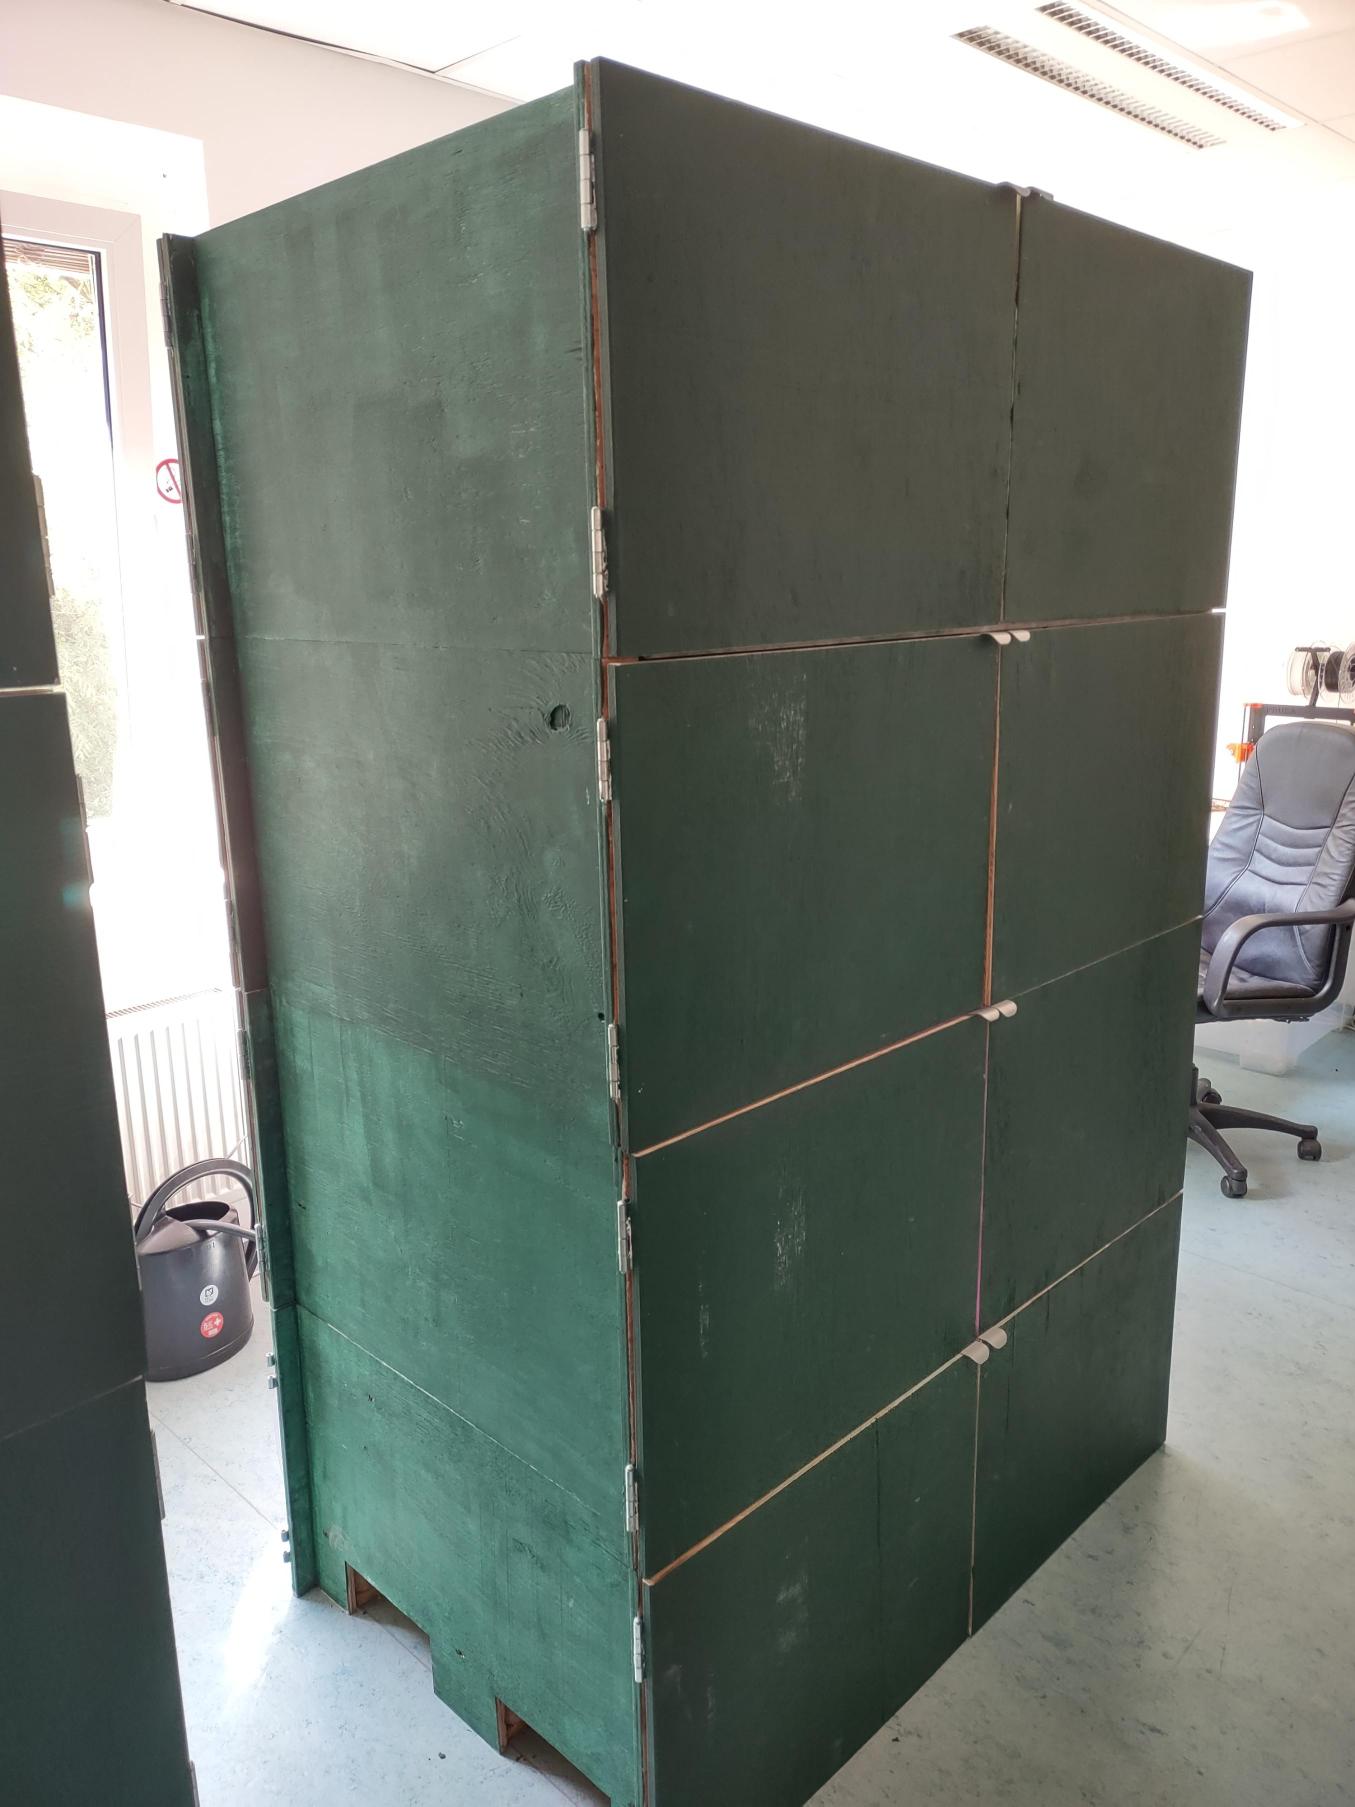
The framework was designed and built by a professional system builder, with the intention of creating a modular and compact casing for the entire system. It consists of four identical individual modules, each made of two metal frames and a wooden casing with doors on each side. With a bit of craftsmanship, this or a similar framework can be relatively easy to replicate. However, a special framework is not mandatory for an aquaponics system—a sturdy table or shelf where the plant boxes can be elevated will suffice. Be sure to consider the weight distribution in the room so that large amounts of water do not rest on too small an area!

Water Containers
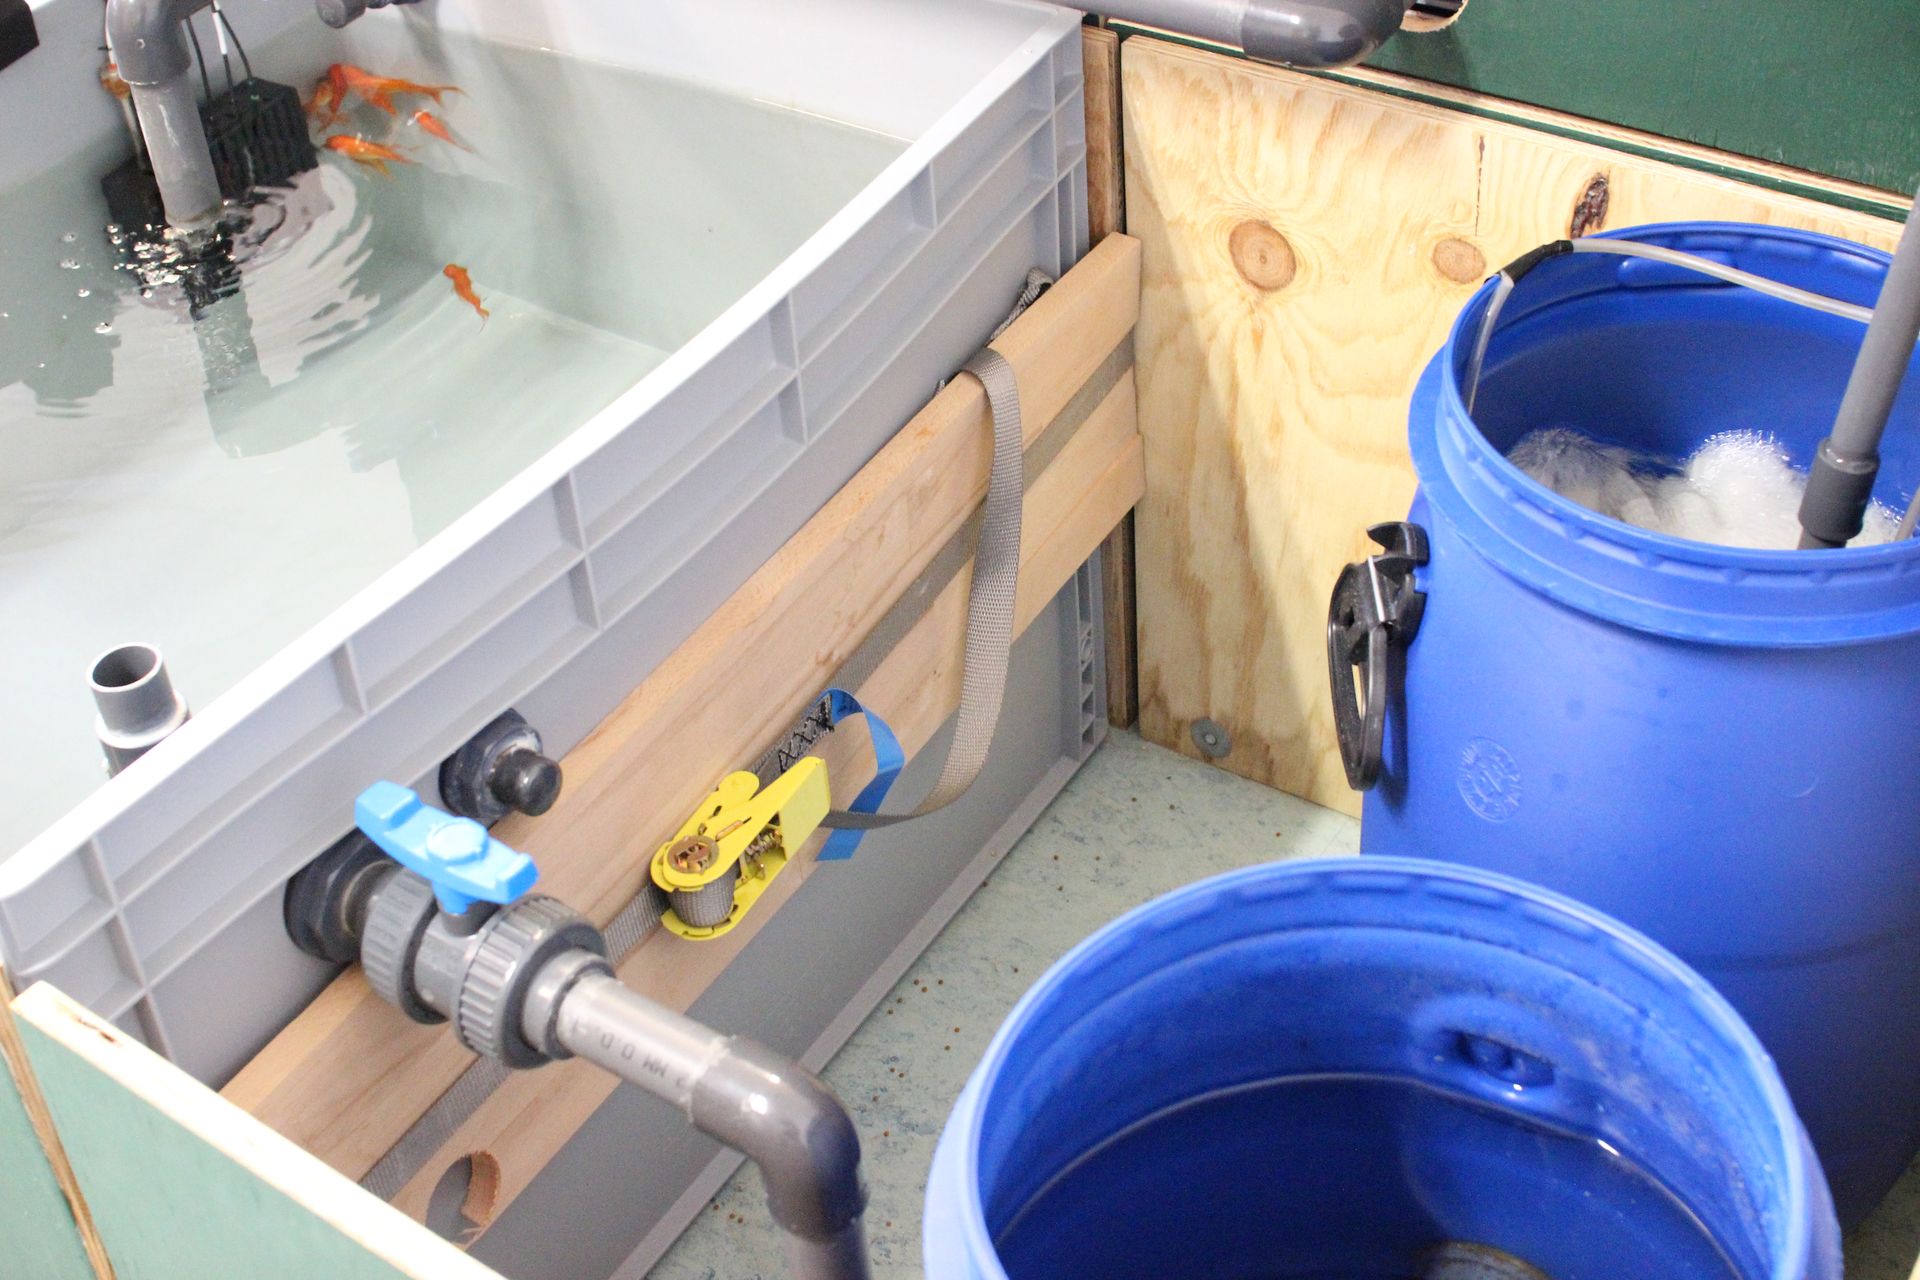
Euro containers made of food-grade material can be used as water containers. Initially, a water volume ratio of approximately 1:1 between the fish tanks and the media beds is recommended. In our case, we used a large Euro container with dimensions of 80x60x52 cm (capacity: 228 liters) as a fish tank and two smaller Euro containers with dimensions of 80x60x22 cm (capacity: 87 liters) as media beds.
These containers are relatively stable and should withstand large amounts of water, but for added security, they can be easily stabilized with a few boards and tension straps.
Depending on the desired size of your system, glass aquariums or IBC tanks can also be suitable.
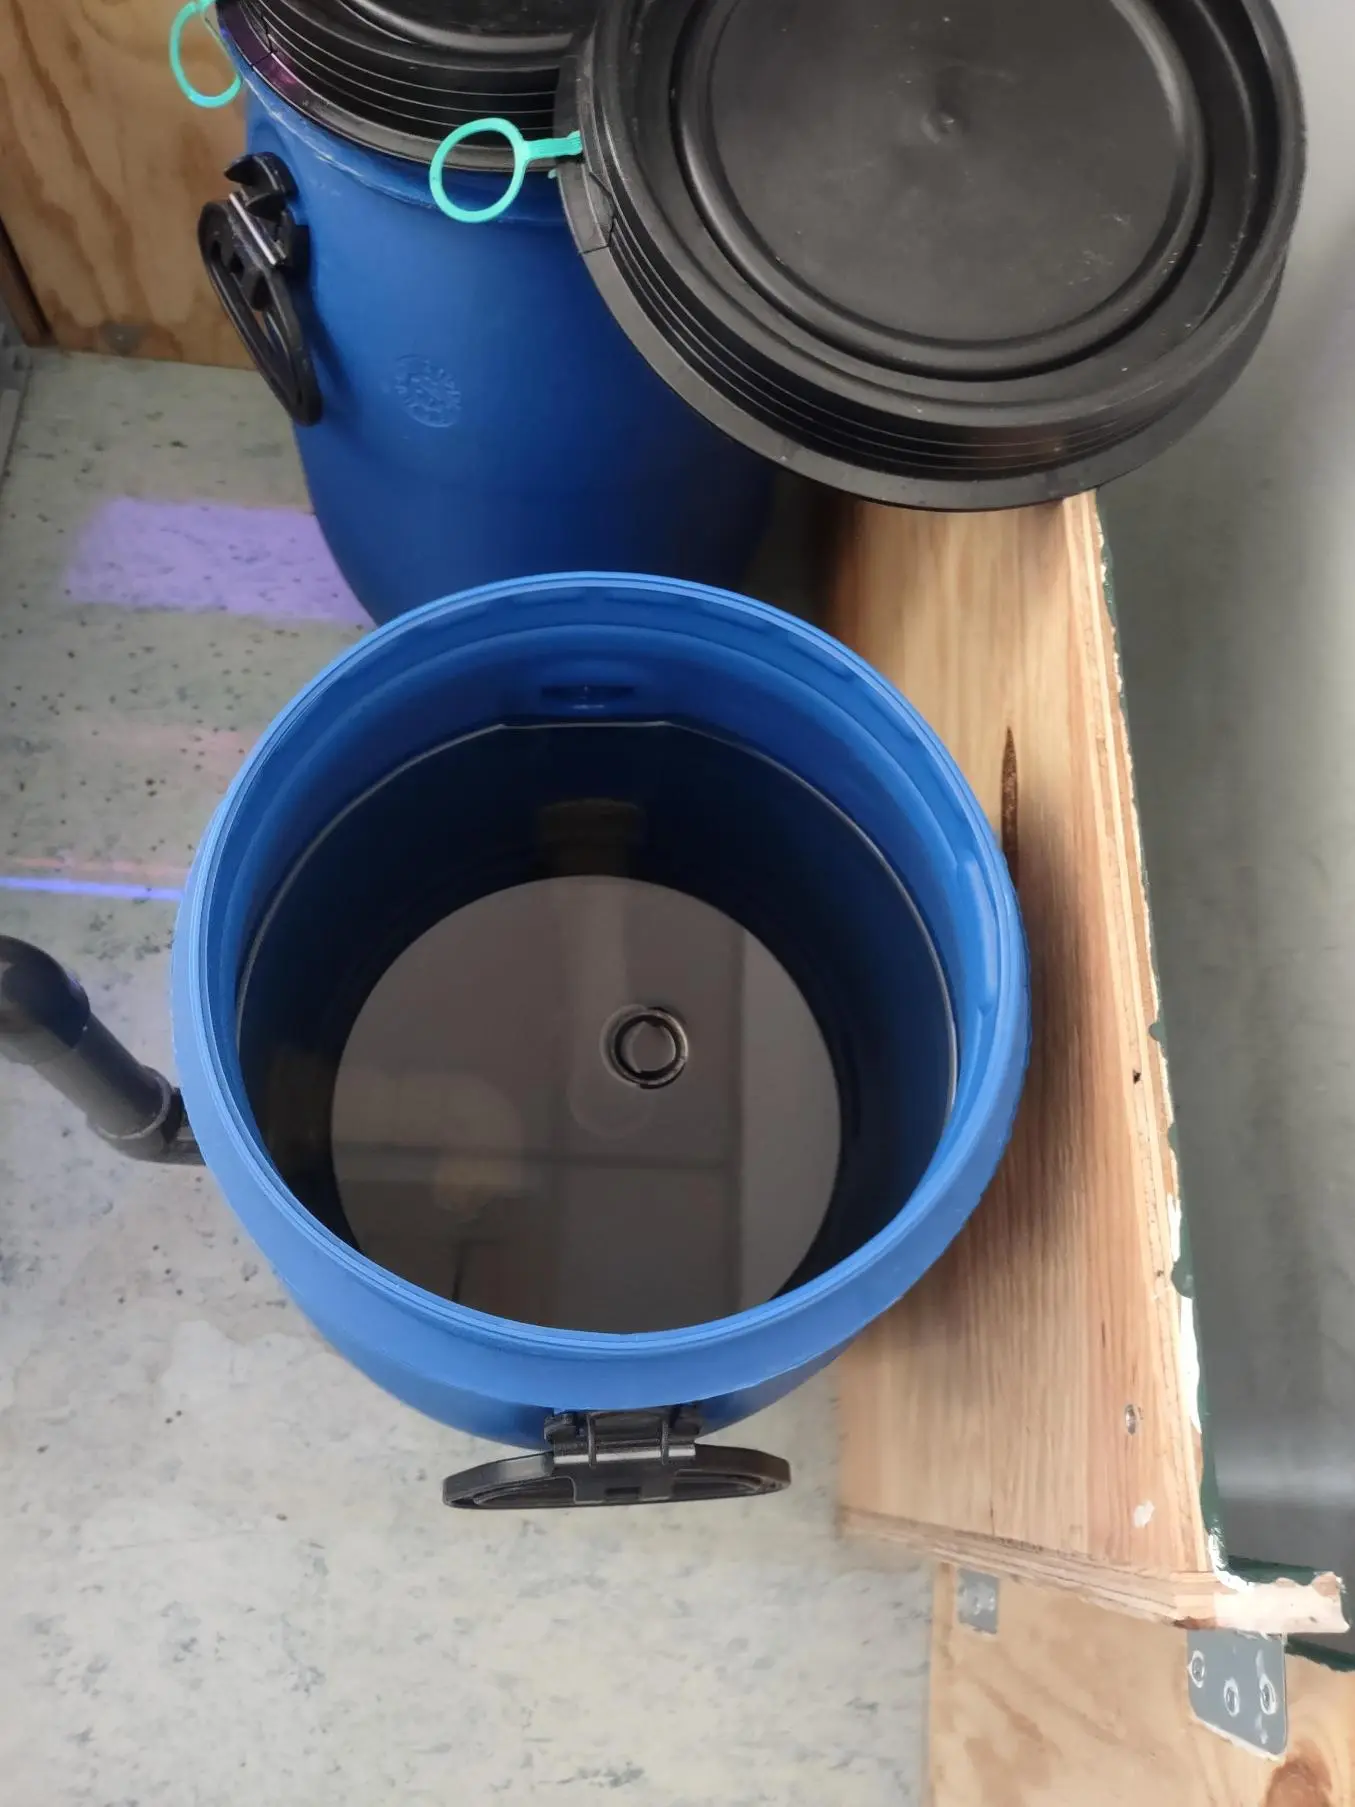
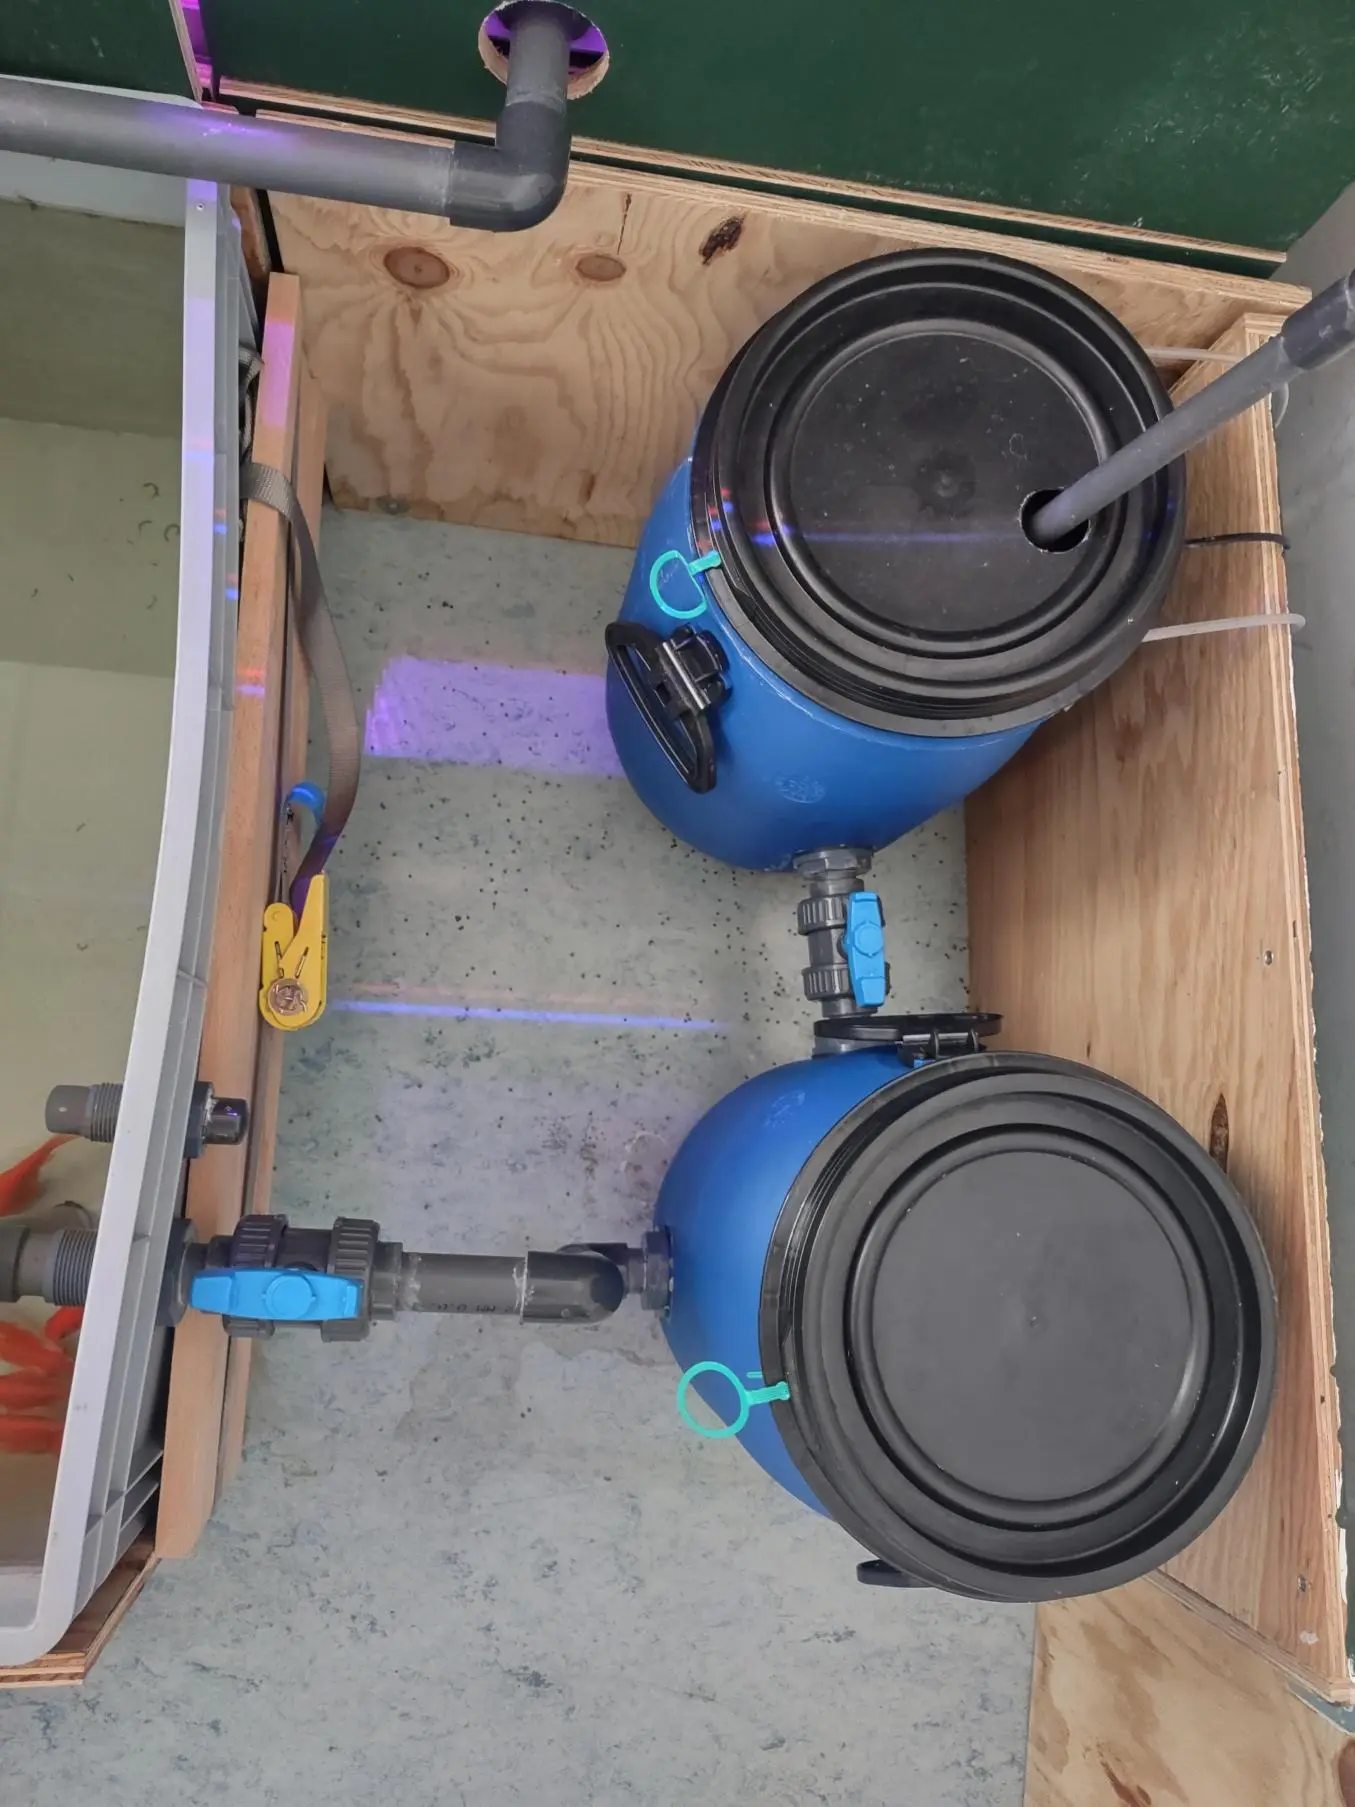
Filter Containers
An aquaponics system optimally has both a solid filter and a biofilter. Our post "What is Aquaponics?" provides more information on this. For this purpose, we used two food-grade wide-neck barrels , each with a capacity of 30 liters. One serves as a swirl filter (solid filter), and the other as a moving bed biofilter. The biofilter also houses the filter material, the water pump, and the air pump diffusers (see below unten).
Piping
PVC-U pipes and fittings (food-grade) are particularly suitable for connecting the individual components, which can be glued together with equally food-grade PVC-U adhesive . On pvc-welt.de or pvcfittings.at , you can find a wide range of materials. Use pipes as thick as possible to allow for high flow rates (at least 20mm). A hole saw attachment for the drill can be used to create holes in the right sizes for pipe access. The following schematic drawings show how our system was piped.
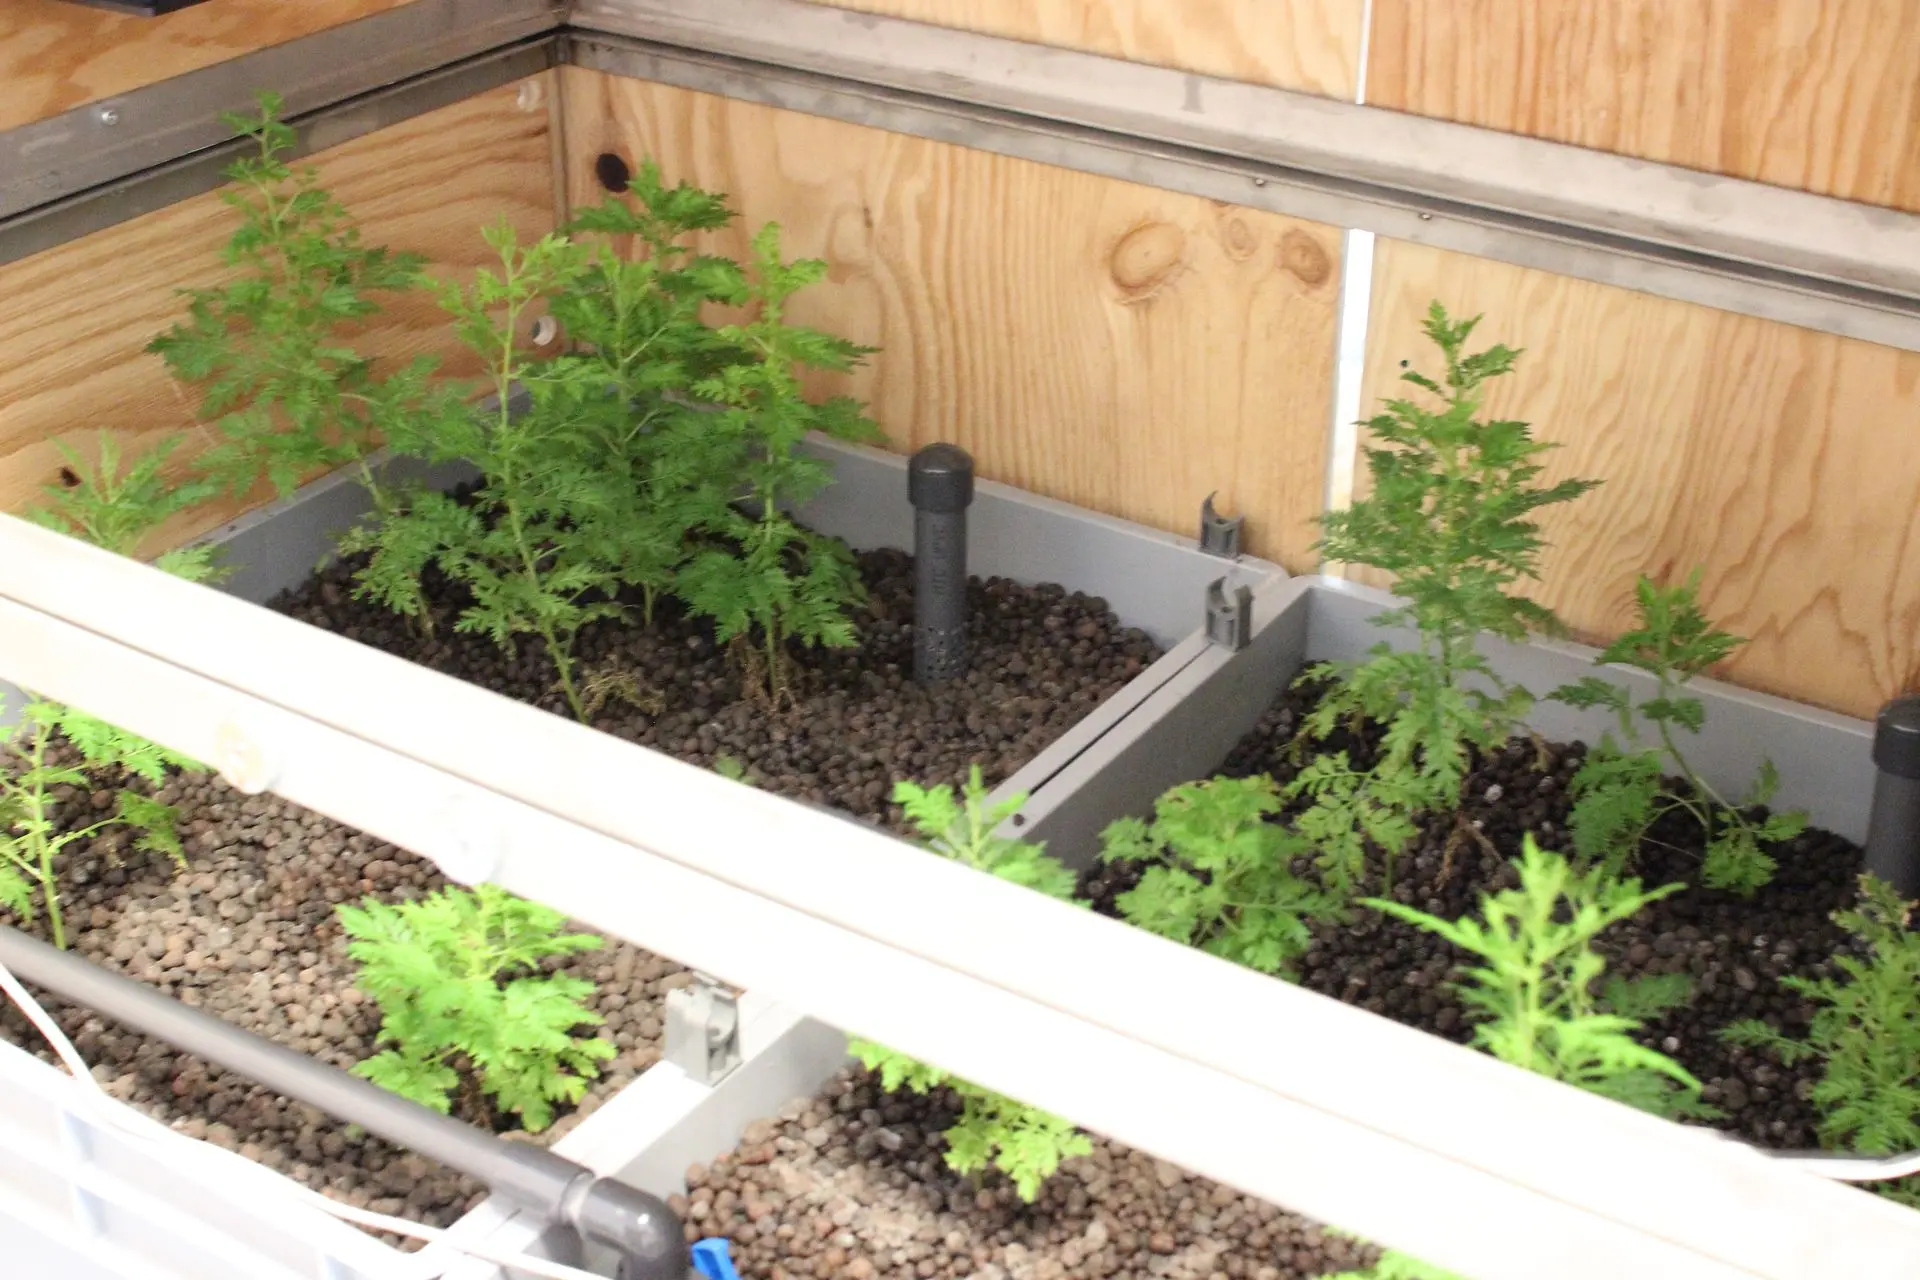
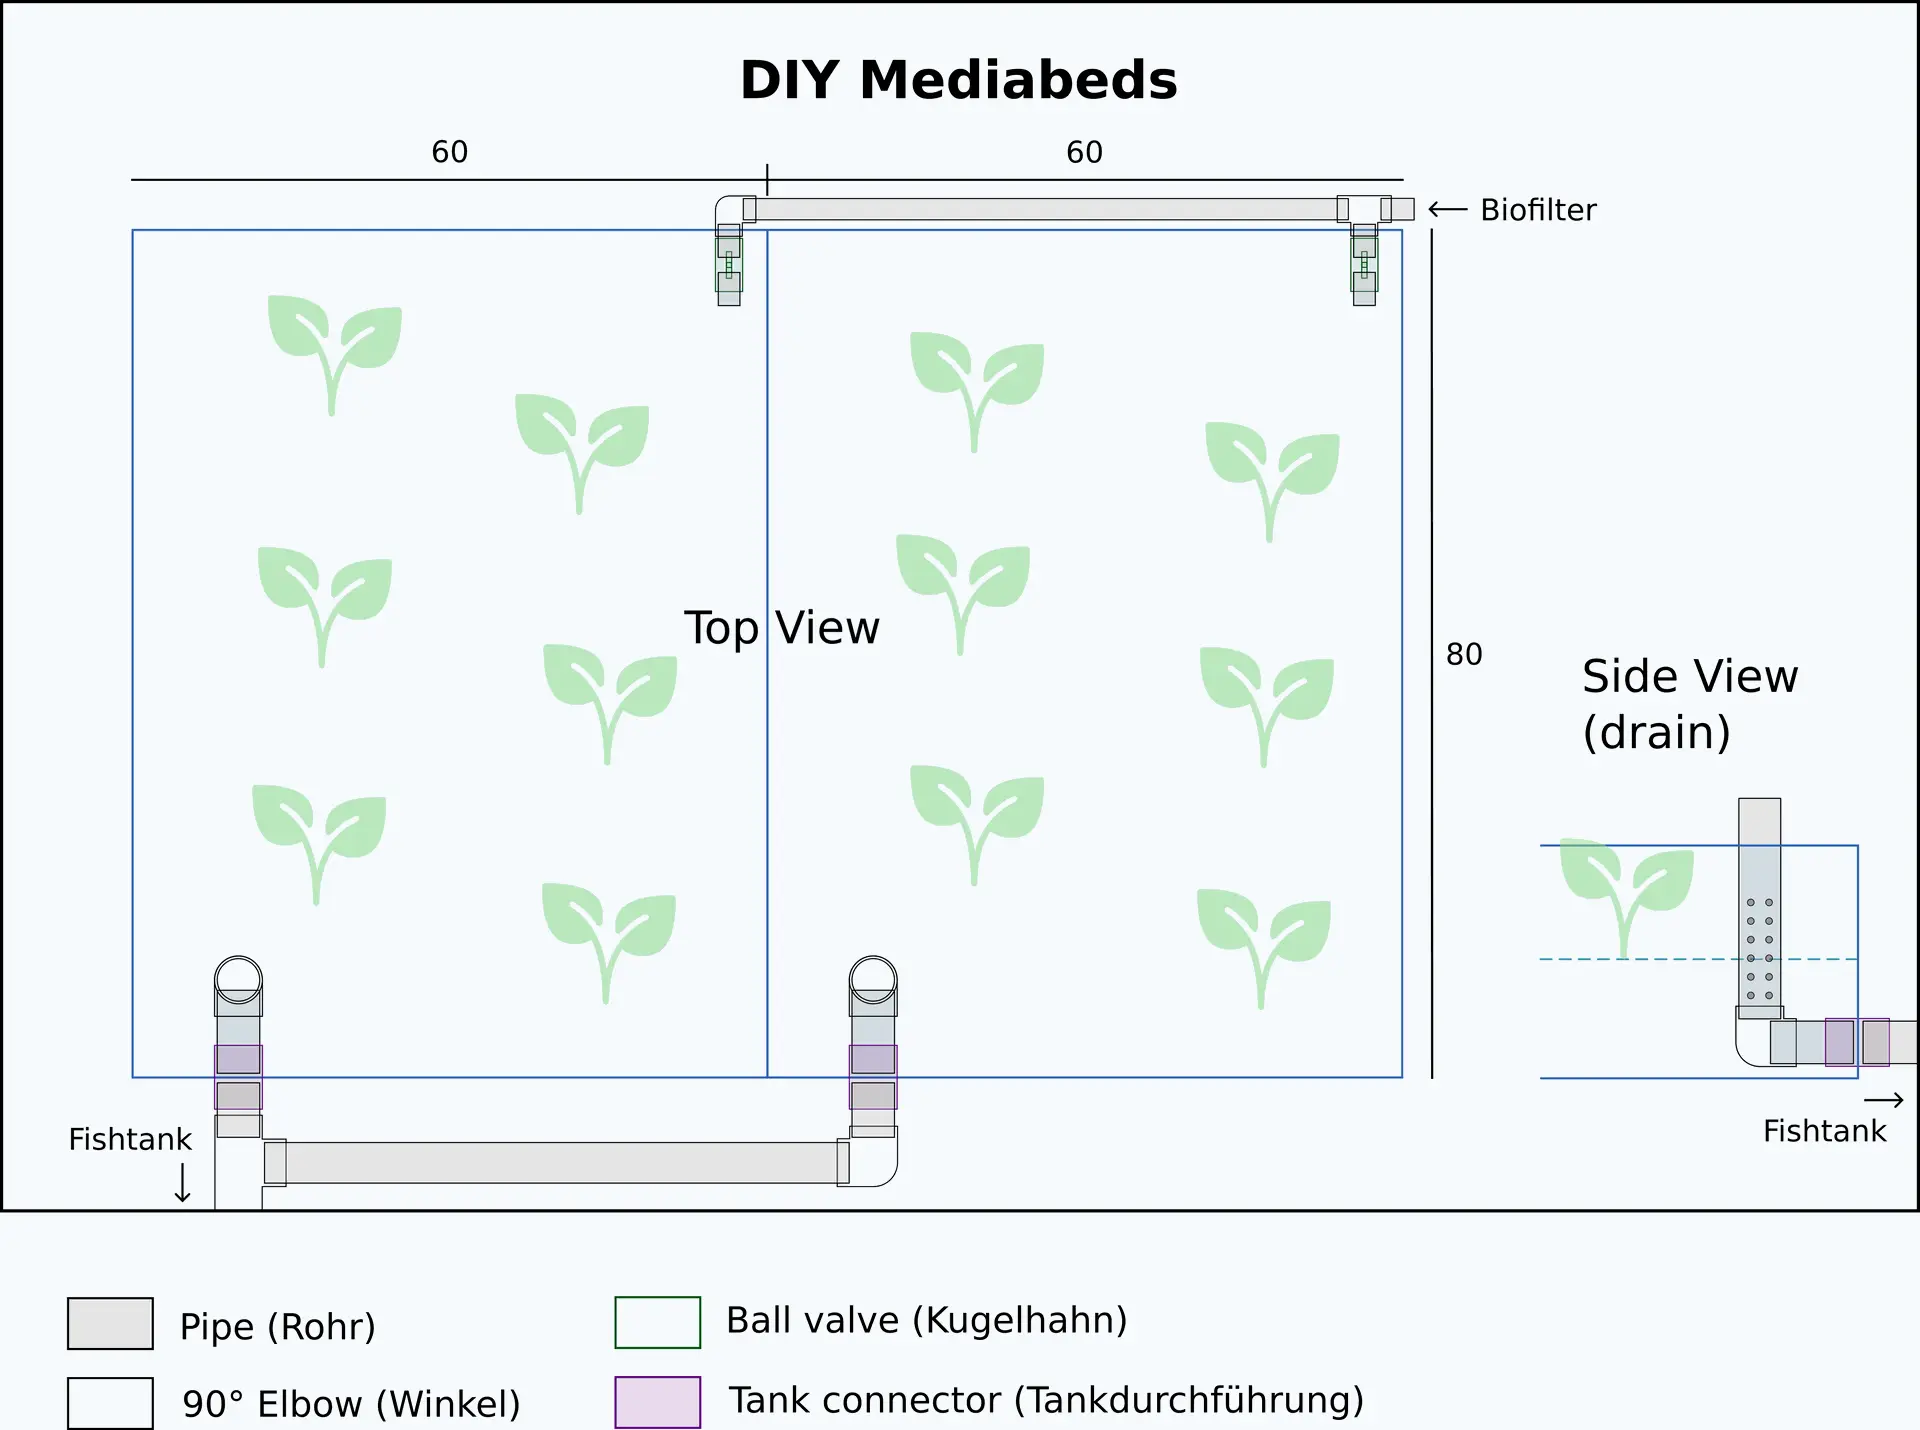
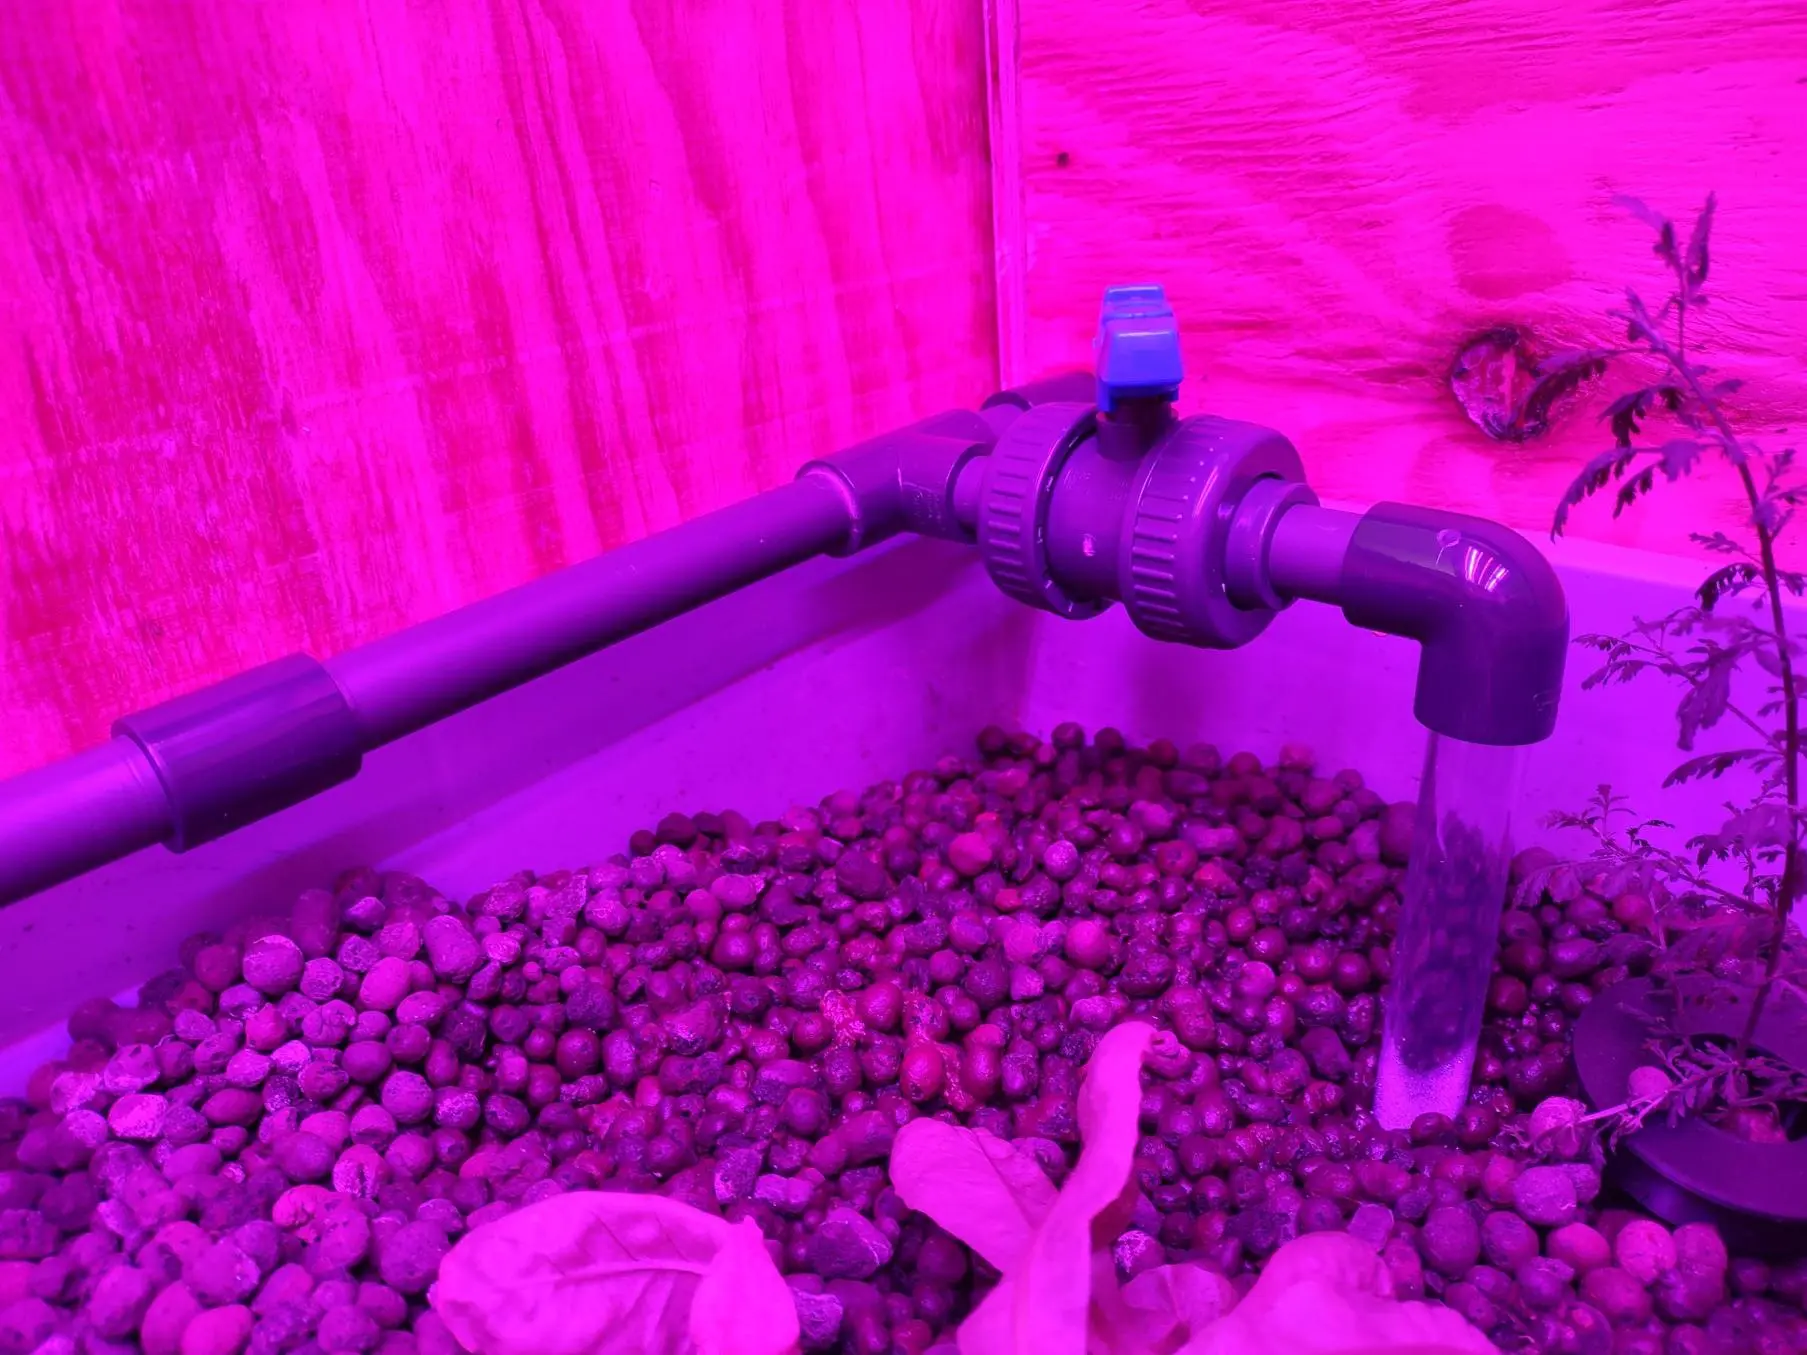
Media Beds
Direct the water to one side of the beds, and use ball valves to adjust the water flow. For drainage, drill holes in the sides or bottom of the boxes on the opposite side and insert perforated pipes to prevent media and plant debris from entering the pipes.

Fish Tank
A gravity-driven drain to the filters is easy to install and has the advantage of drawing in dirty water from the bottom of the tank. A T-piece with a long pipe extending into the water, almost reaching the bottom of the fish tank, is sufficient. Ensure that no fish can fit through the pipe by attaching a mesh at the end of the pipe.
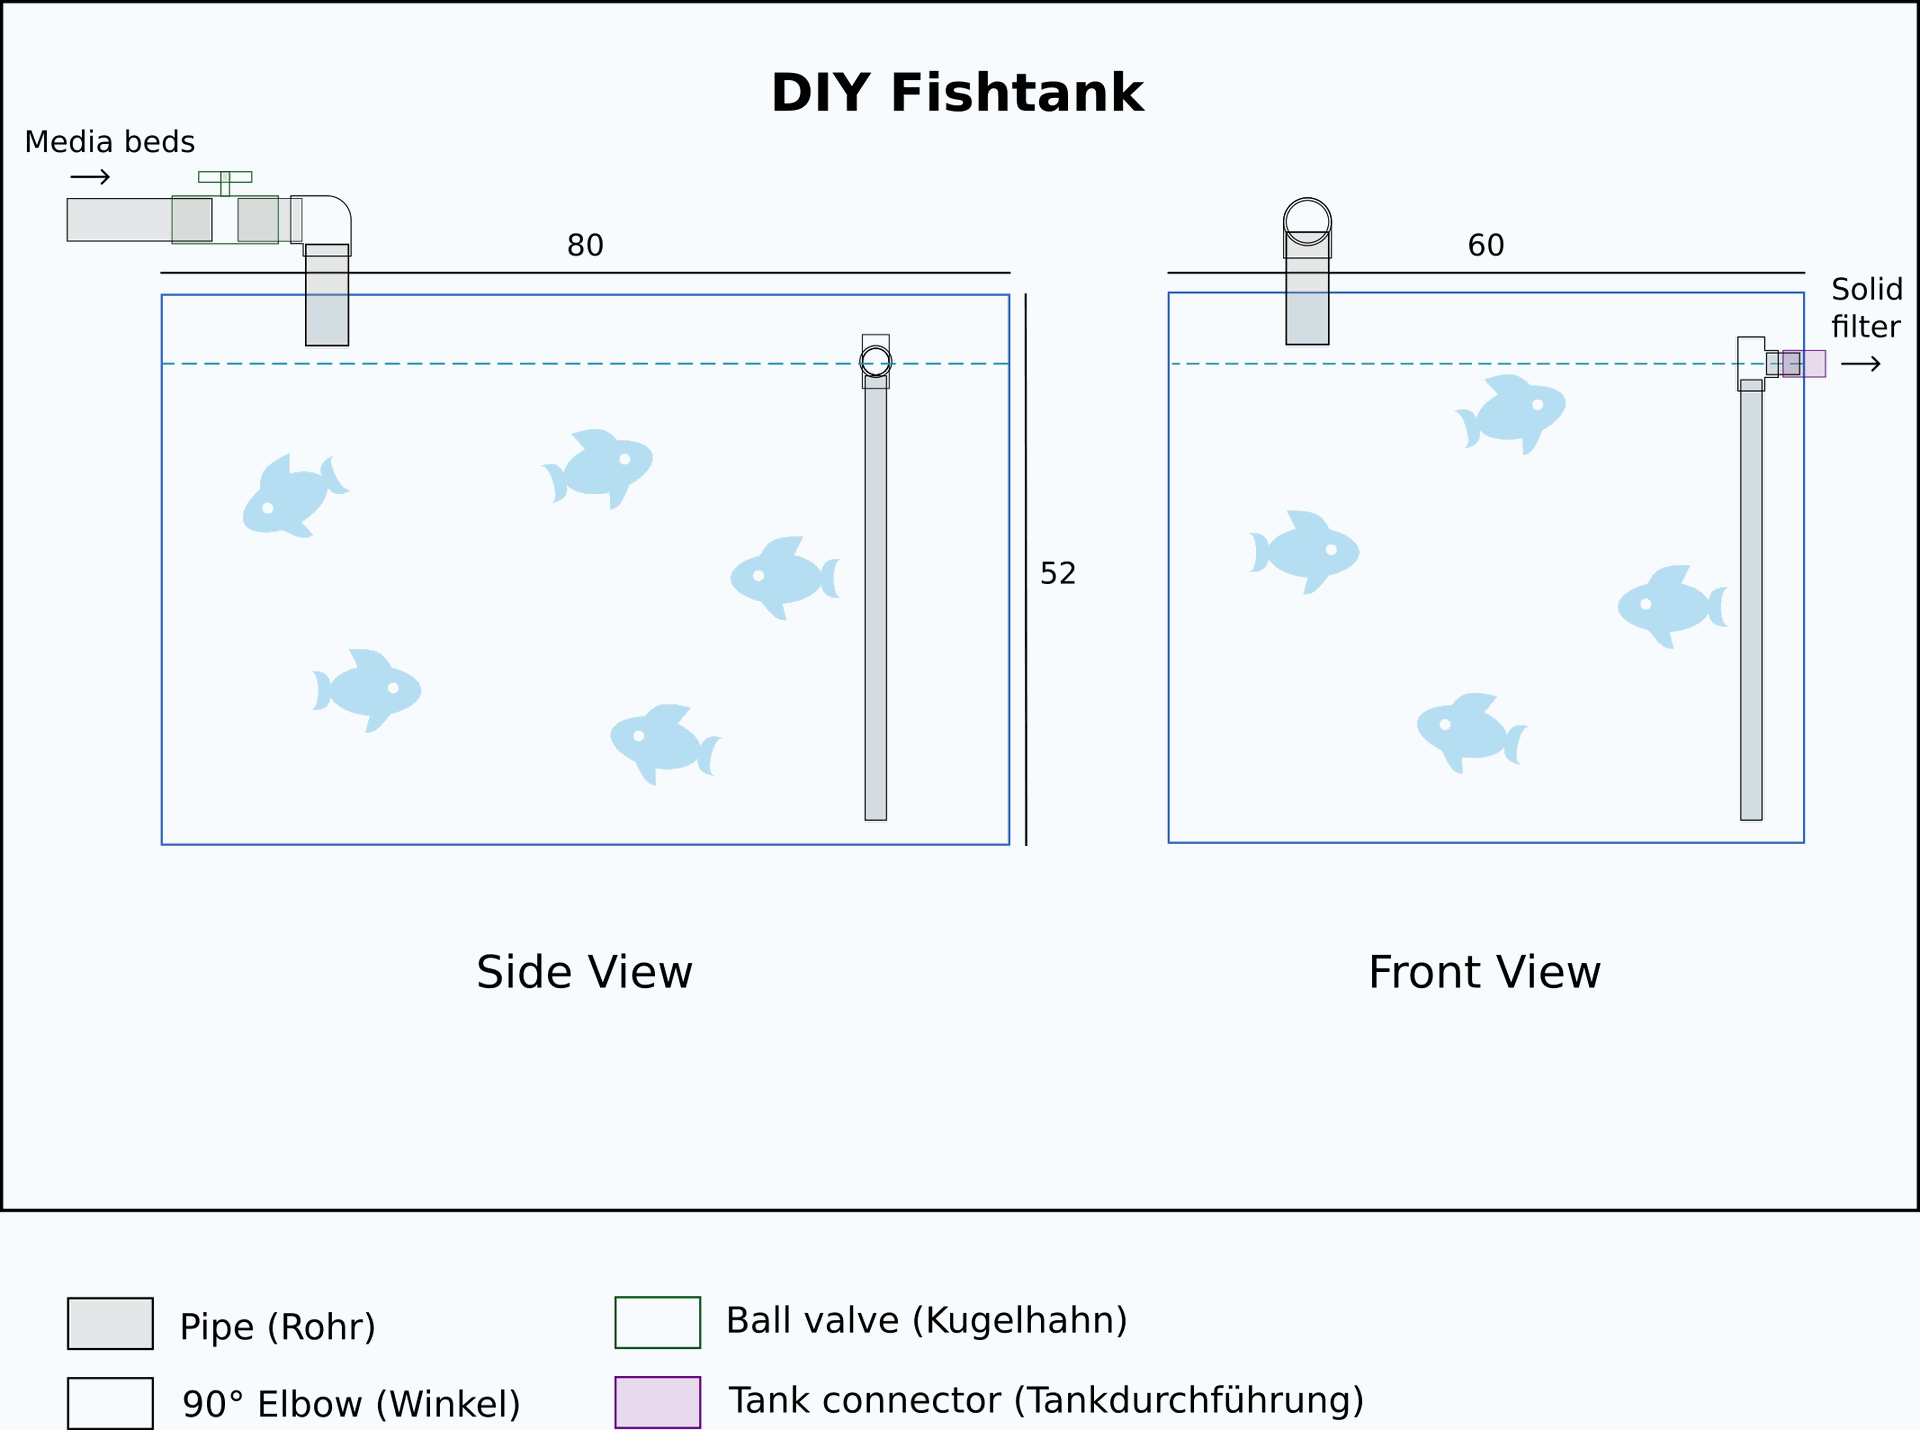
It is also advisable to install an overflow in the fish tank, which will divert excess water into a larger container or a drain in case of emergencies.
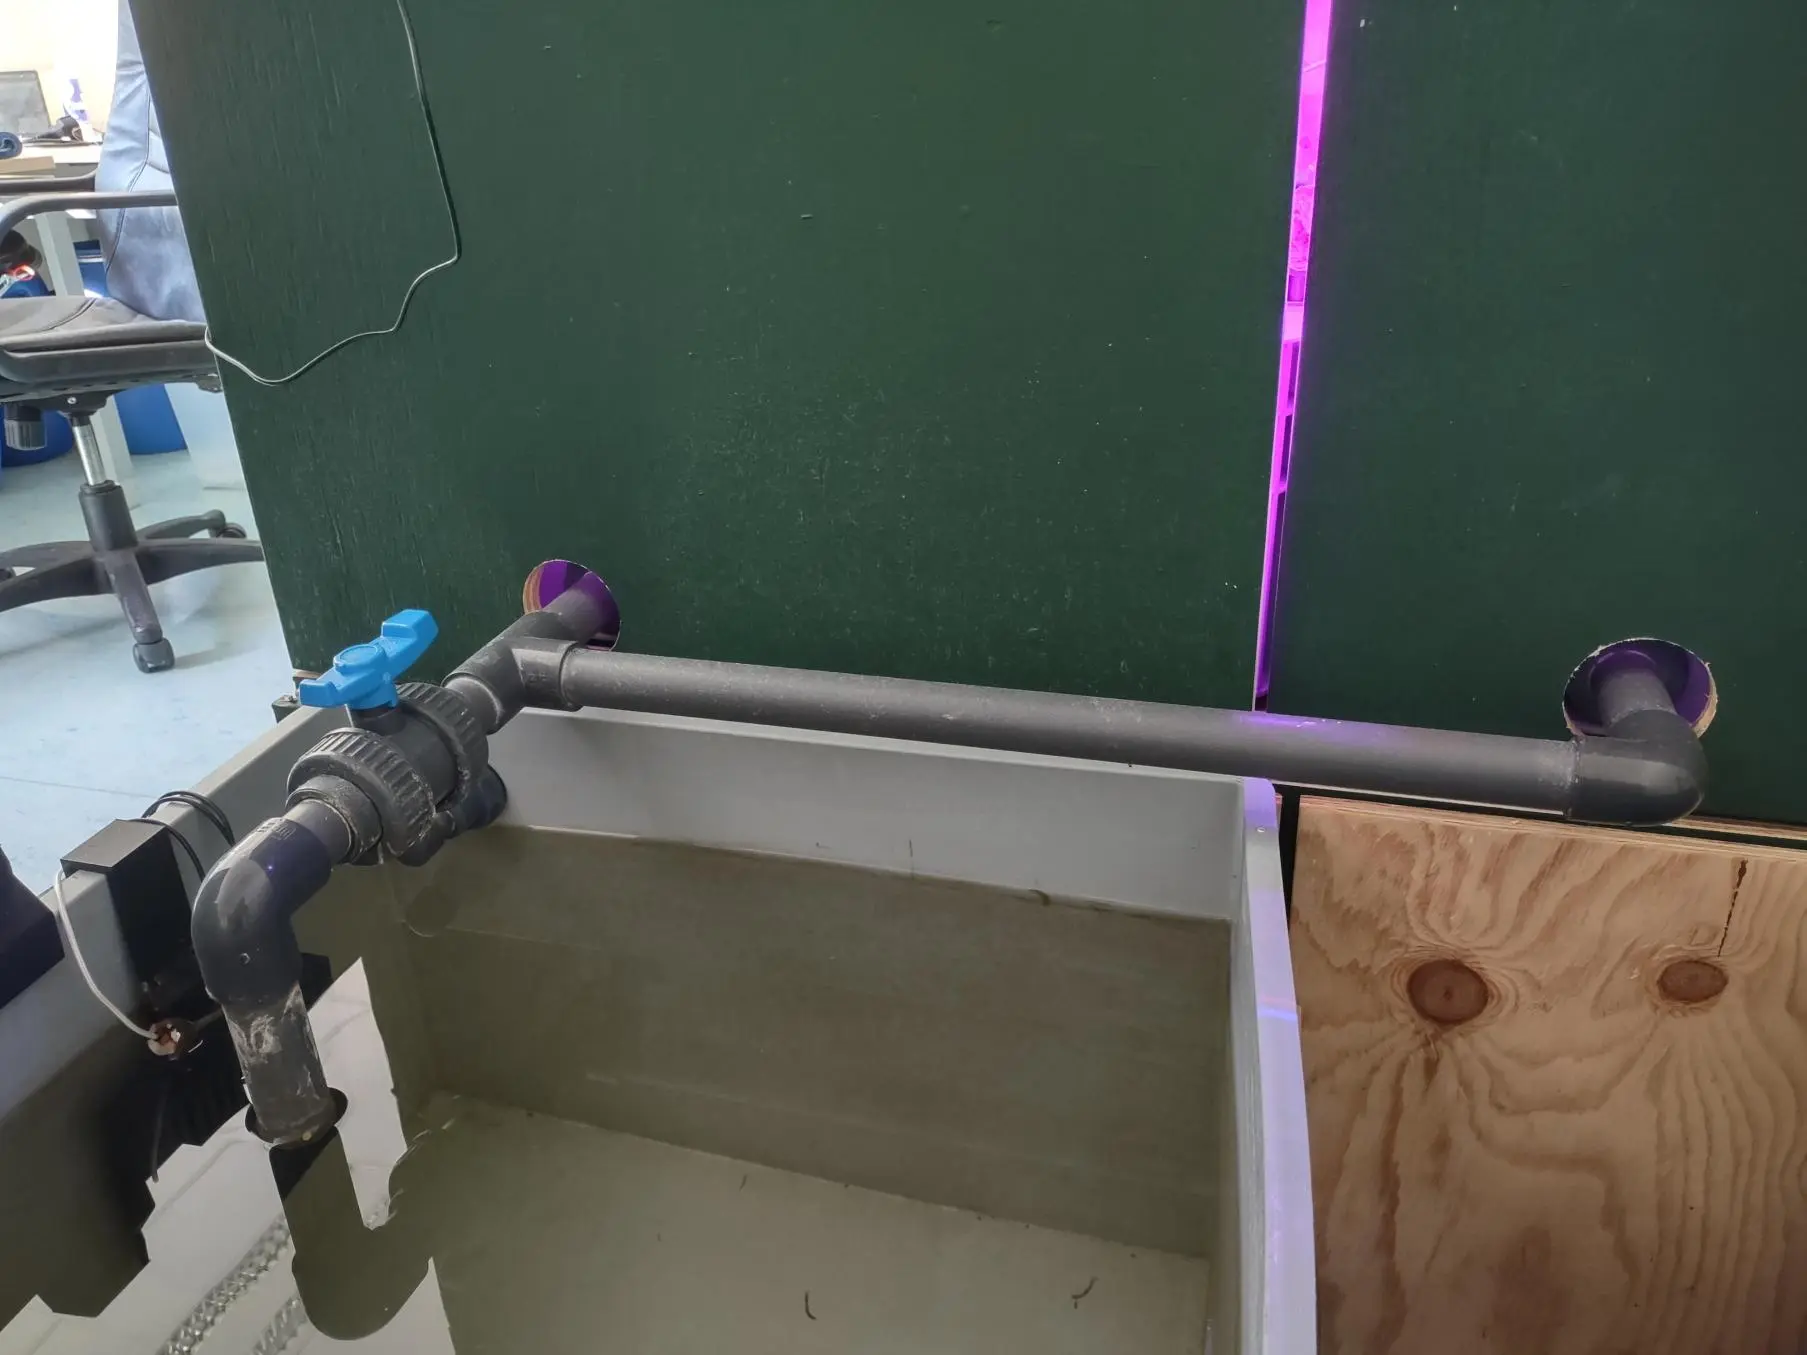
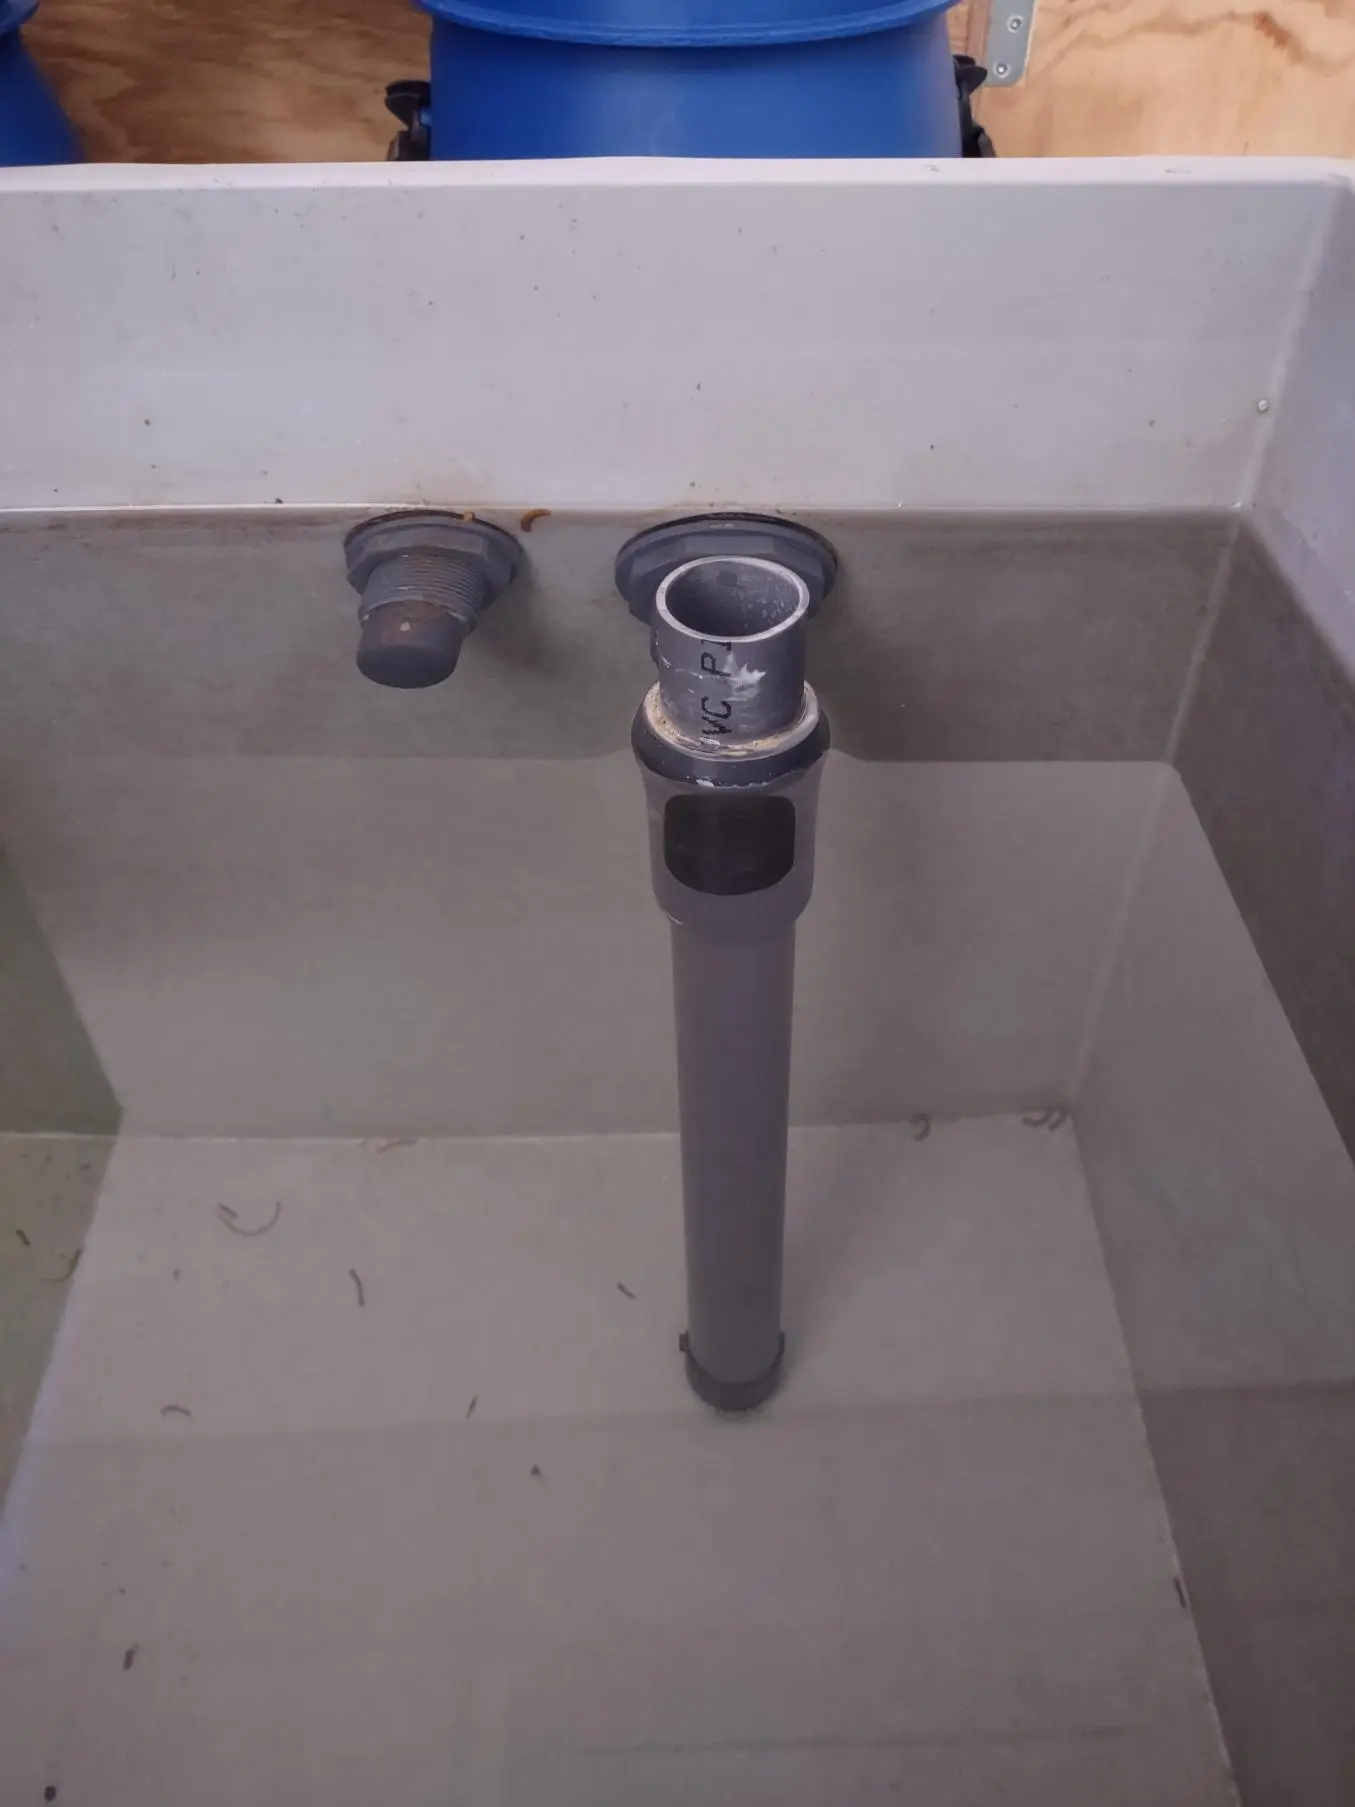
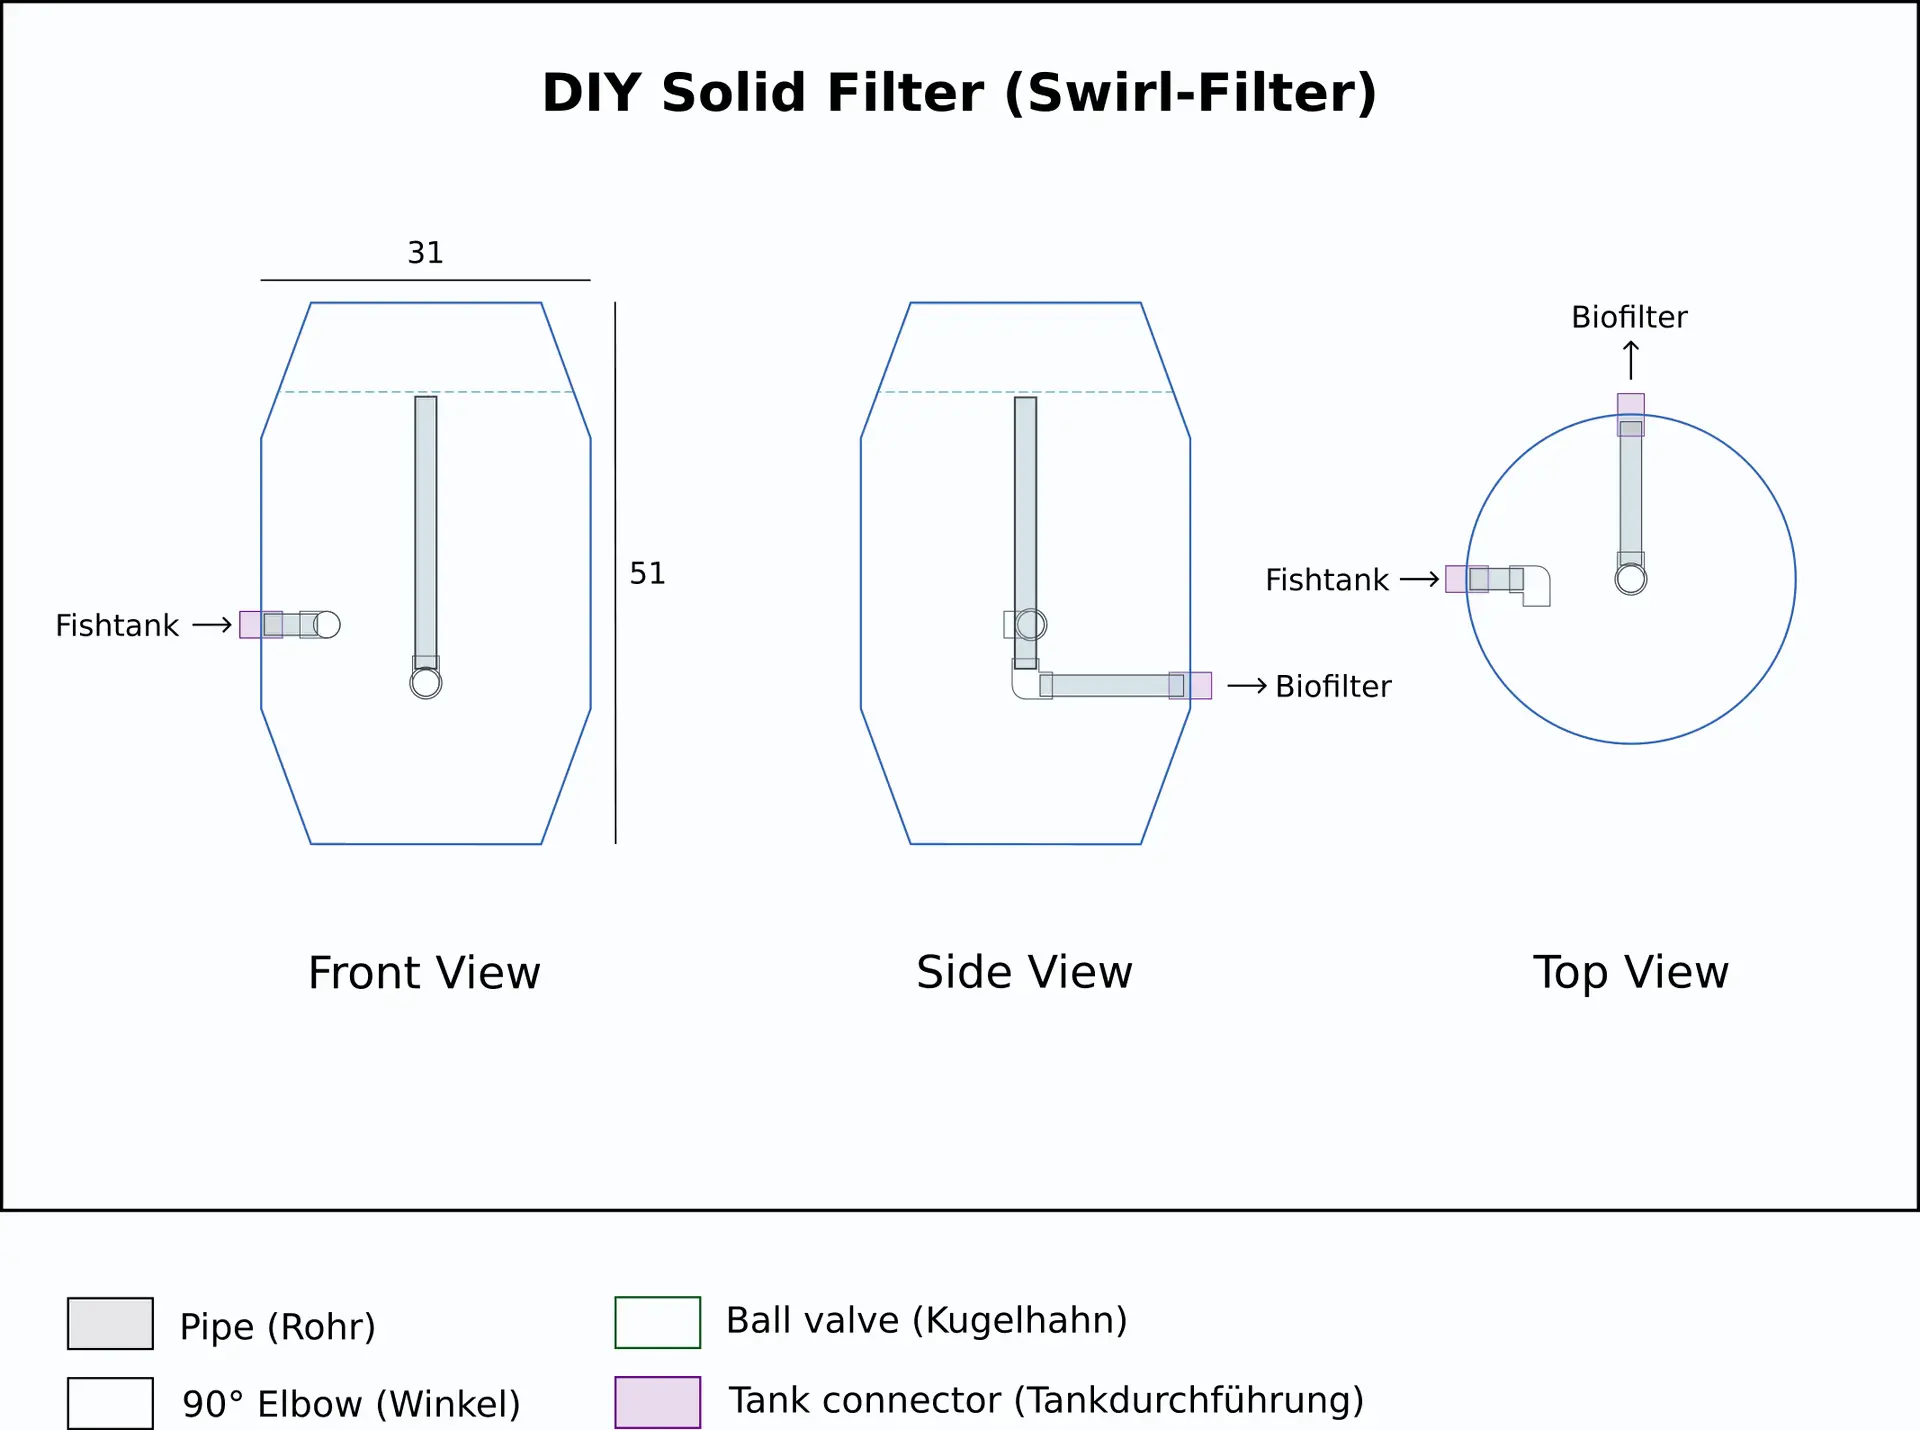
Solid Filter
In its simplest form, the swirl filter only needs a side-facing inlet (to create a circular motion in the water) and an outlet as close to the water surface as possible, where the cleanest water is located. Make sure to place the inlet as low and the outlet as high as possible. Also, ensure there is a sufficient height difference between the water in the fish tank and in the solid filter: this should be at least one hand's width.

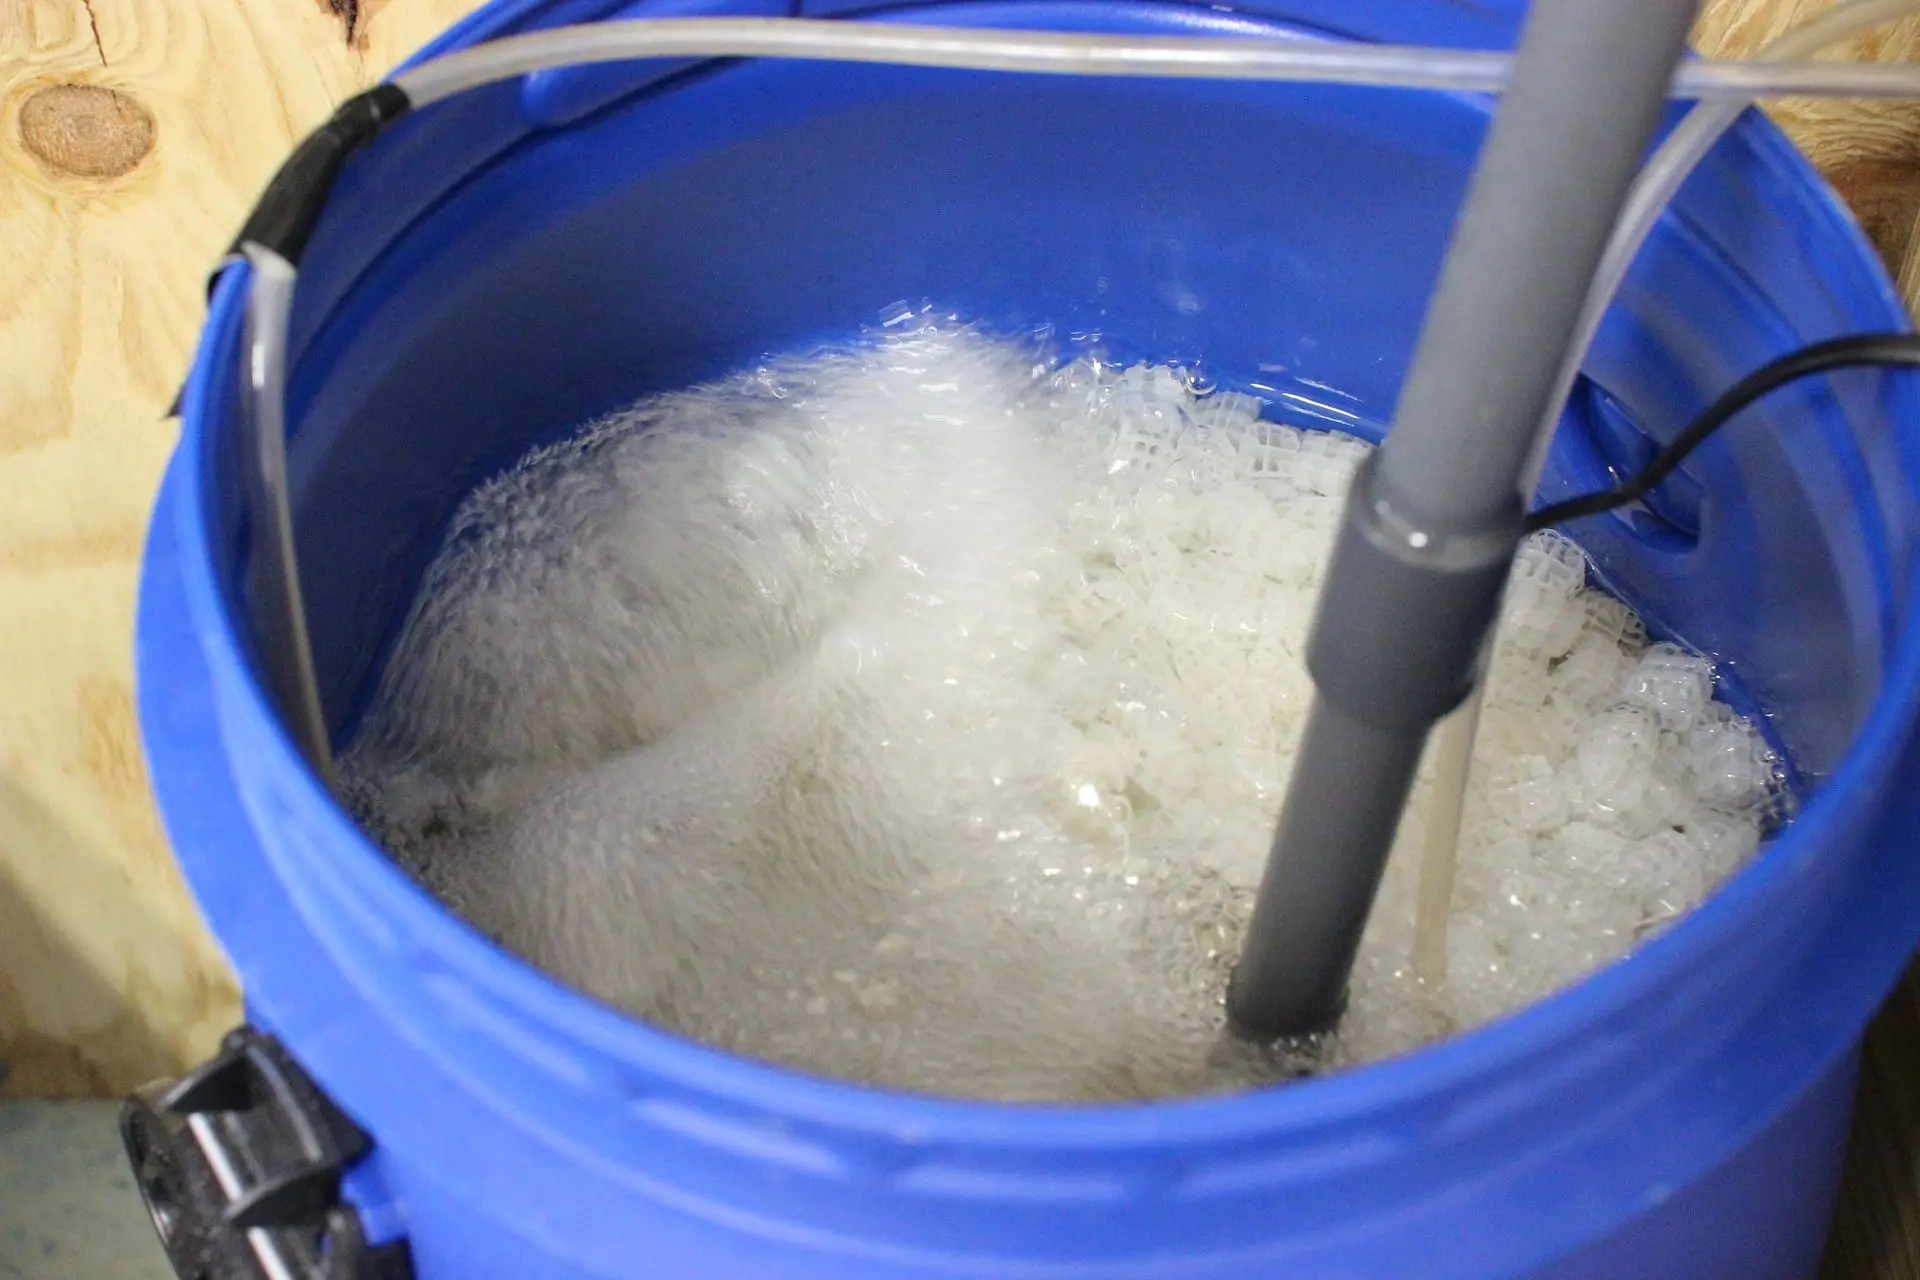
Biofilter
The inlet to the biofilter is a horizontal pipe with holes. A water pump then pumps the water to the beds. It is recommended to set the water pump, even with an adjustable power model, to maximum strength and regulate the flow to the beds using a forked pipe with a ball valve that returns to the biofilter. The strength should be adjusted so that the water level in the tank remains constant while maintaining an adequate flow rate.

Tips for Piping
- Test the tightness of the components individually before fully gluing them.
- Especially for the filter containers, use sealing tape for the tank fittings to ensure a good seal, as the surfaces are rounded.
- Use enough ball valves between the components. These can not only temporarily interrupt water flow but also be easily unscrewed, allowing the components to be separated for cleaning, for example.
Equipment
Water Pump
When selecting the water pump, the hourly flow rate and the possible delivery height are particularly important. The hourly flow rate should be at least 1x the total water volume in the system. A 15W or 40W pump, like this one, is well suited. Also, ensure that the selected hose fits the outlet, or use a suitable PVC reducer if necessary.
Air Pump
Use a suitable air pump, e.g., this 20W air pump with two diffuser, which releases 30 liters of air per hour into the water. Place check valves between the pump and the diffusers to prevent water from flowing back into the pump. The air pump can be quite loud, so use the quietest model possible and/or place it in a soundproofed area.
Clay Granules
Fill the media beds halfway with fine-grain clay granules like this. However, they should be rinsed once beforehand.
Filter Material
The biofilter is half-filled with special filter material like this , where the essential nitrifying bacteria can live and multiply. These plastic pieces are designed to have as large a surface area as possible for this purpose. The amount of filter material must be adjusted to the number of plants/fish in the system.
Feeder
The feeding process depends on the chosen species and the number of fish. If necessary, an automatic feeder can be used to ensure consistent daily feeding.
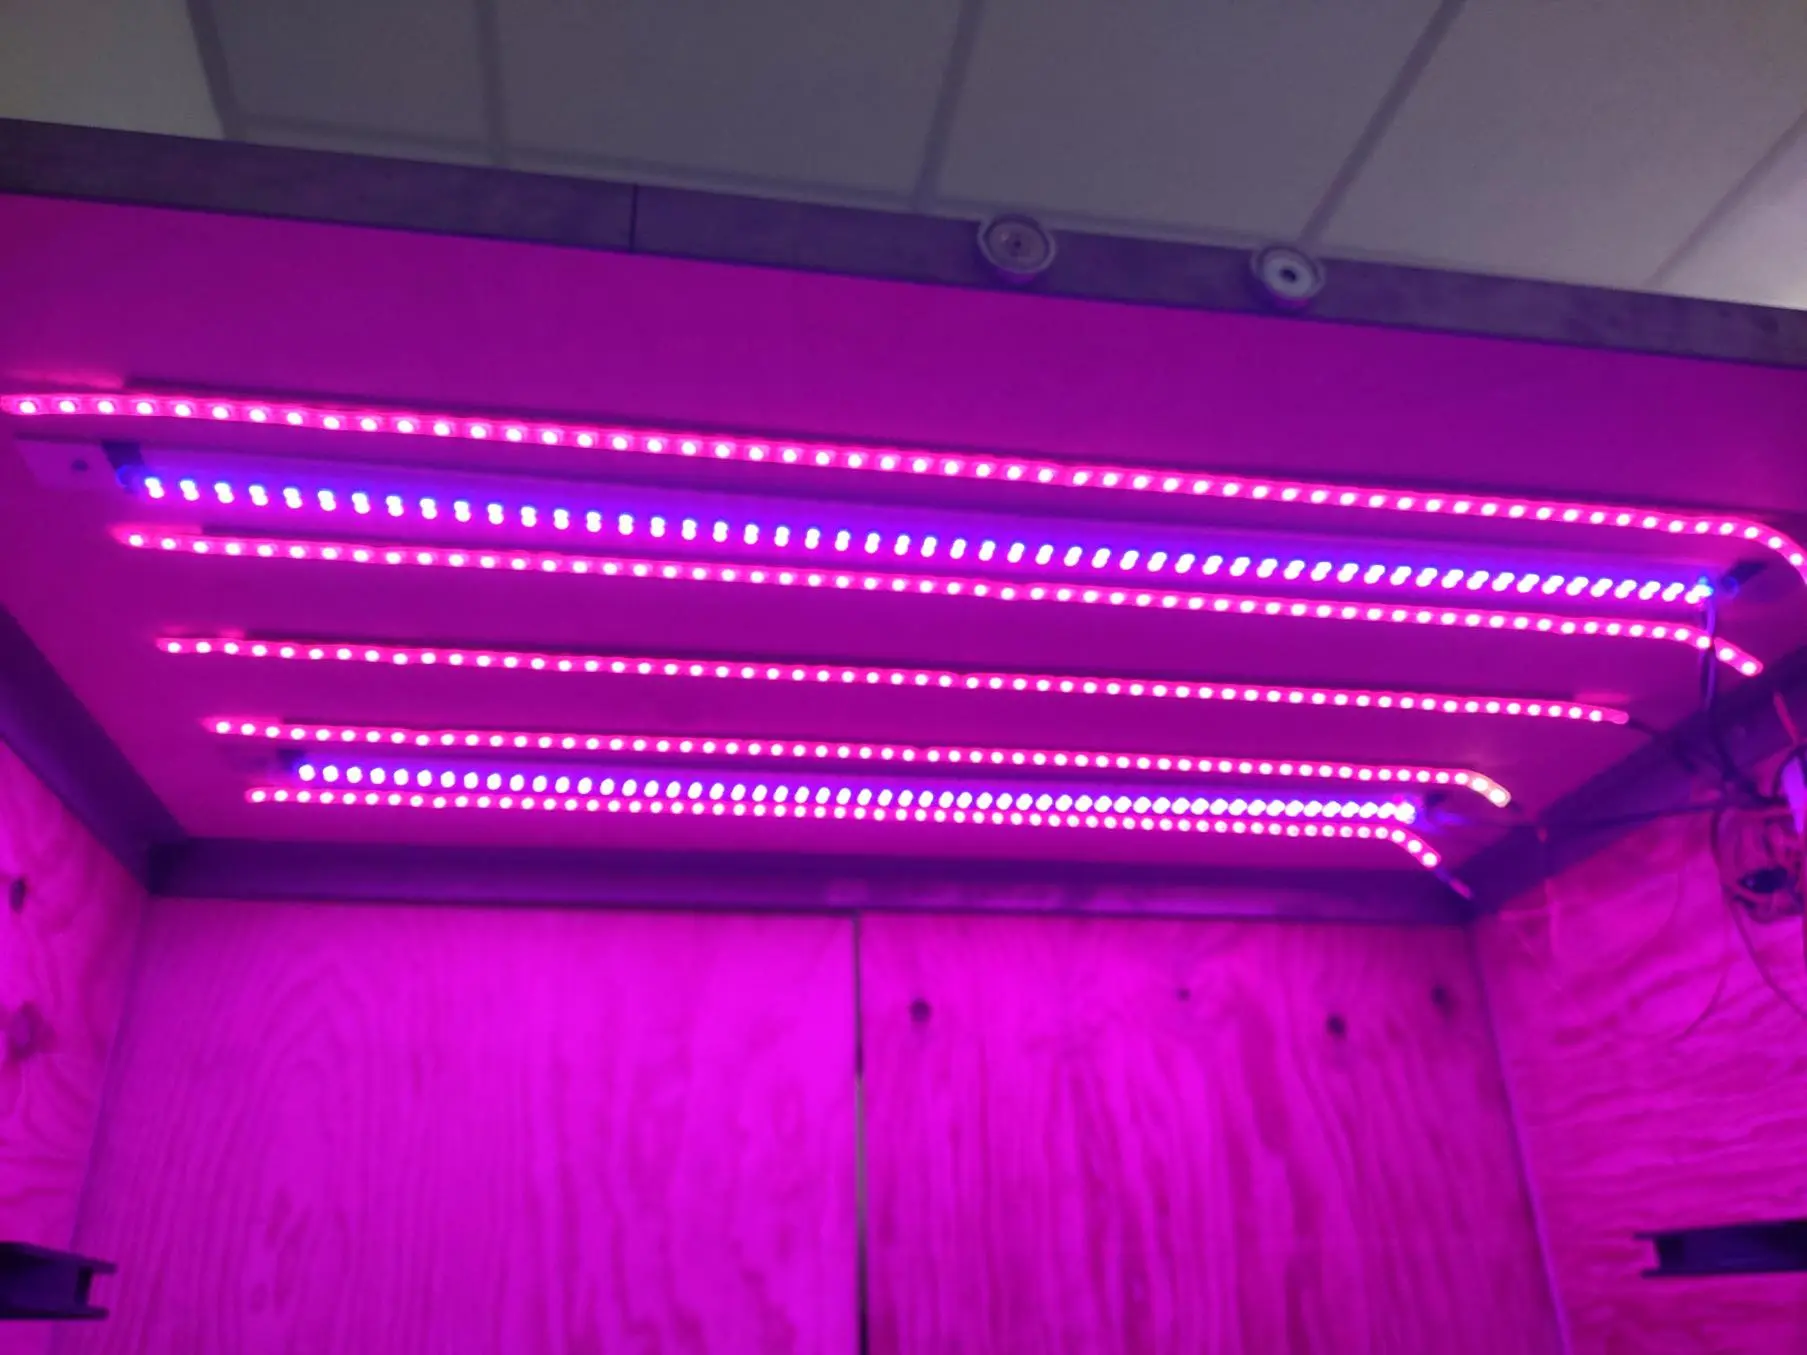
Lighting
To ensure optimal lighting conditions for the aquaponics system, artificial lighting above the plants is recommended. Use special grow lights or LED strips that provide the optimal spectrum of light. However, keep in mind that different plants have varying light requirements. You can use a timer to turn the lights on and off.
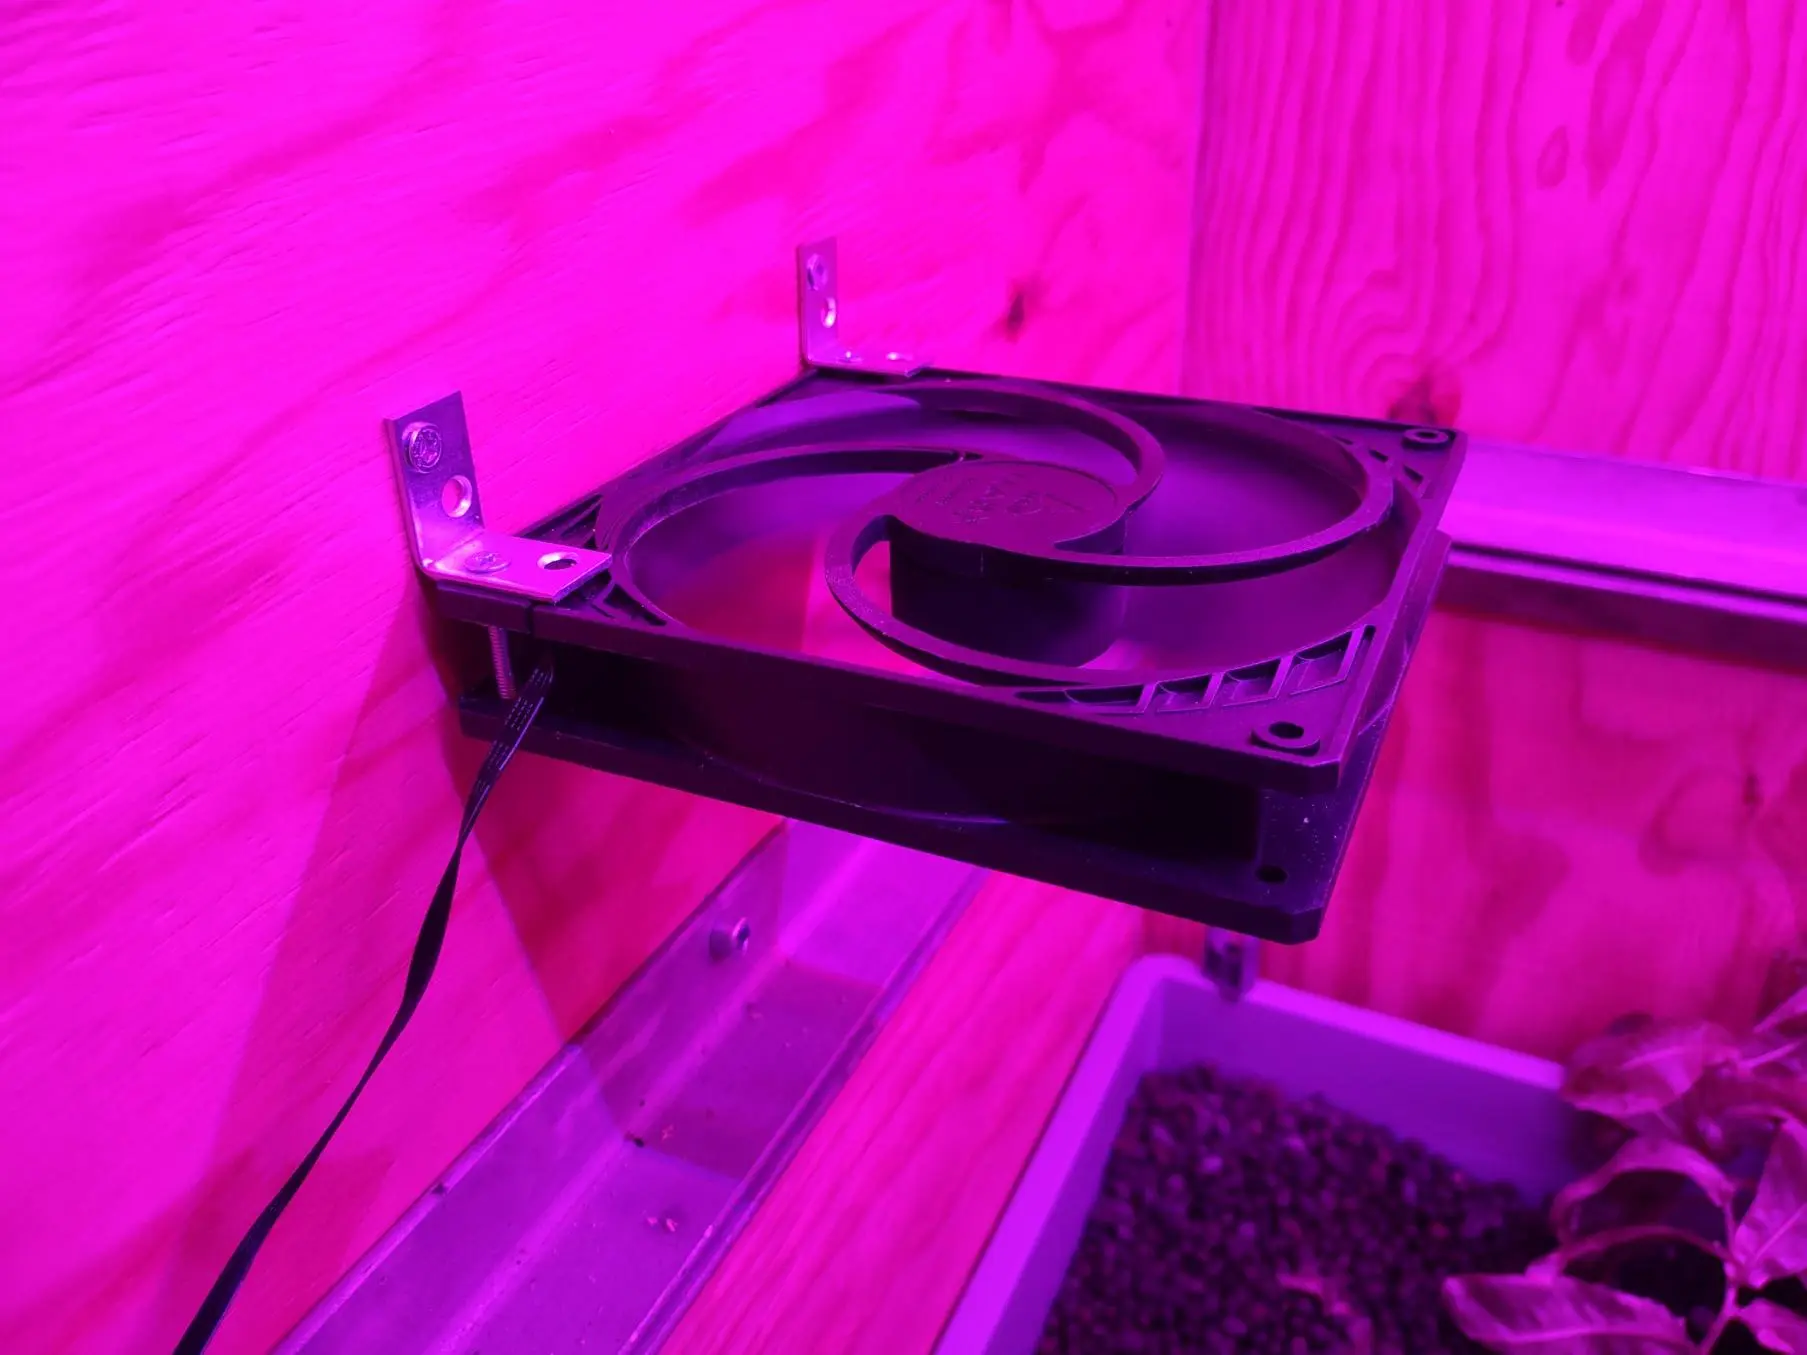
Ventilation
Excessive humidity can lead to issues like mold growth on the plants. Therefore, if necessary, ensure adequate ventilation. In our case, we used PC fans, but other options are available.
Additional Helpful Tips
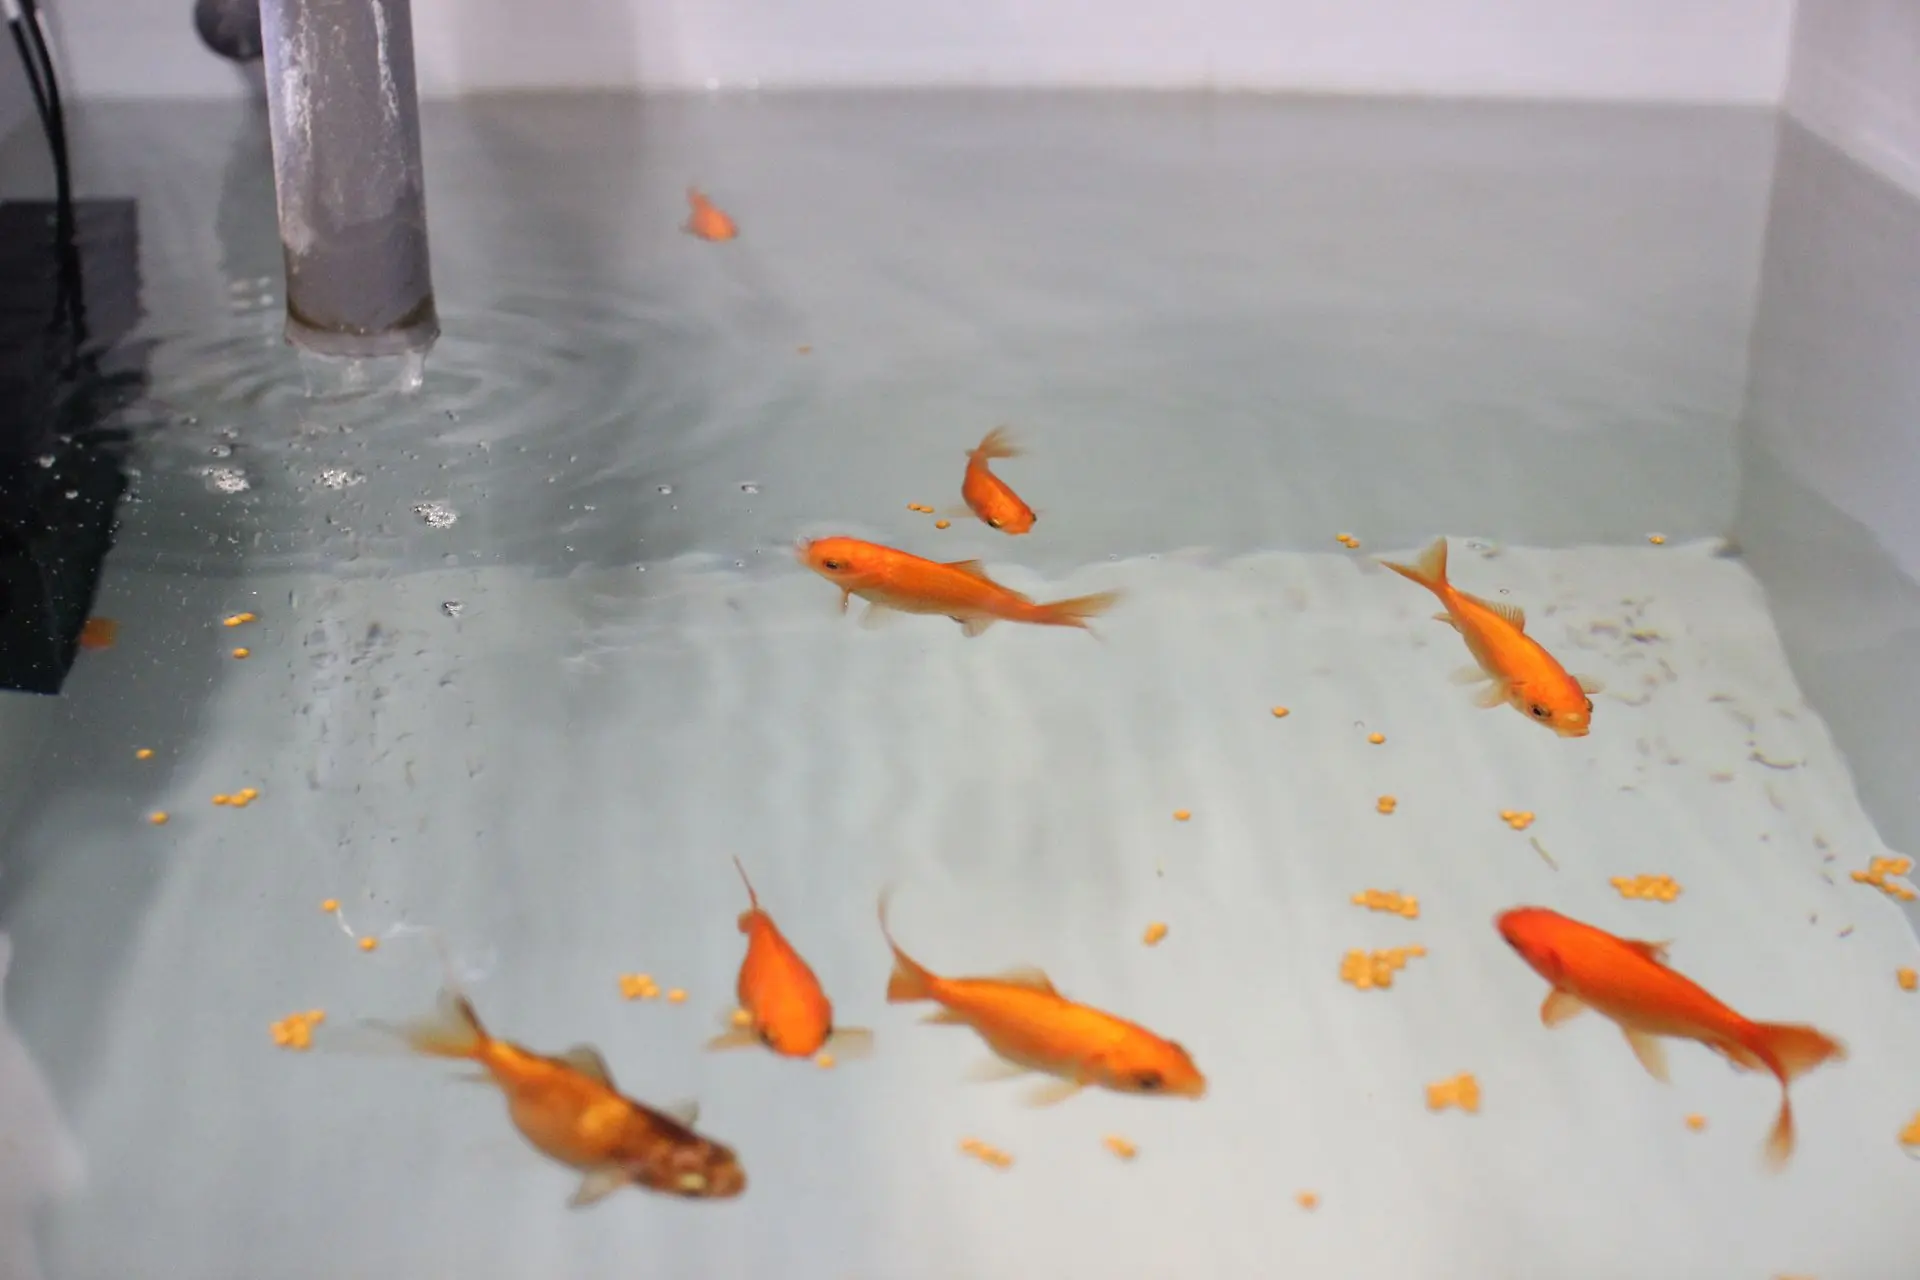
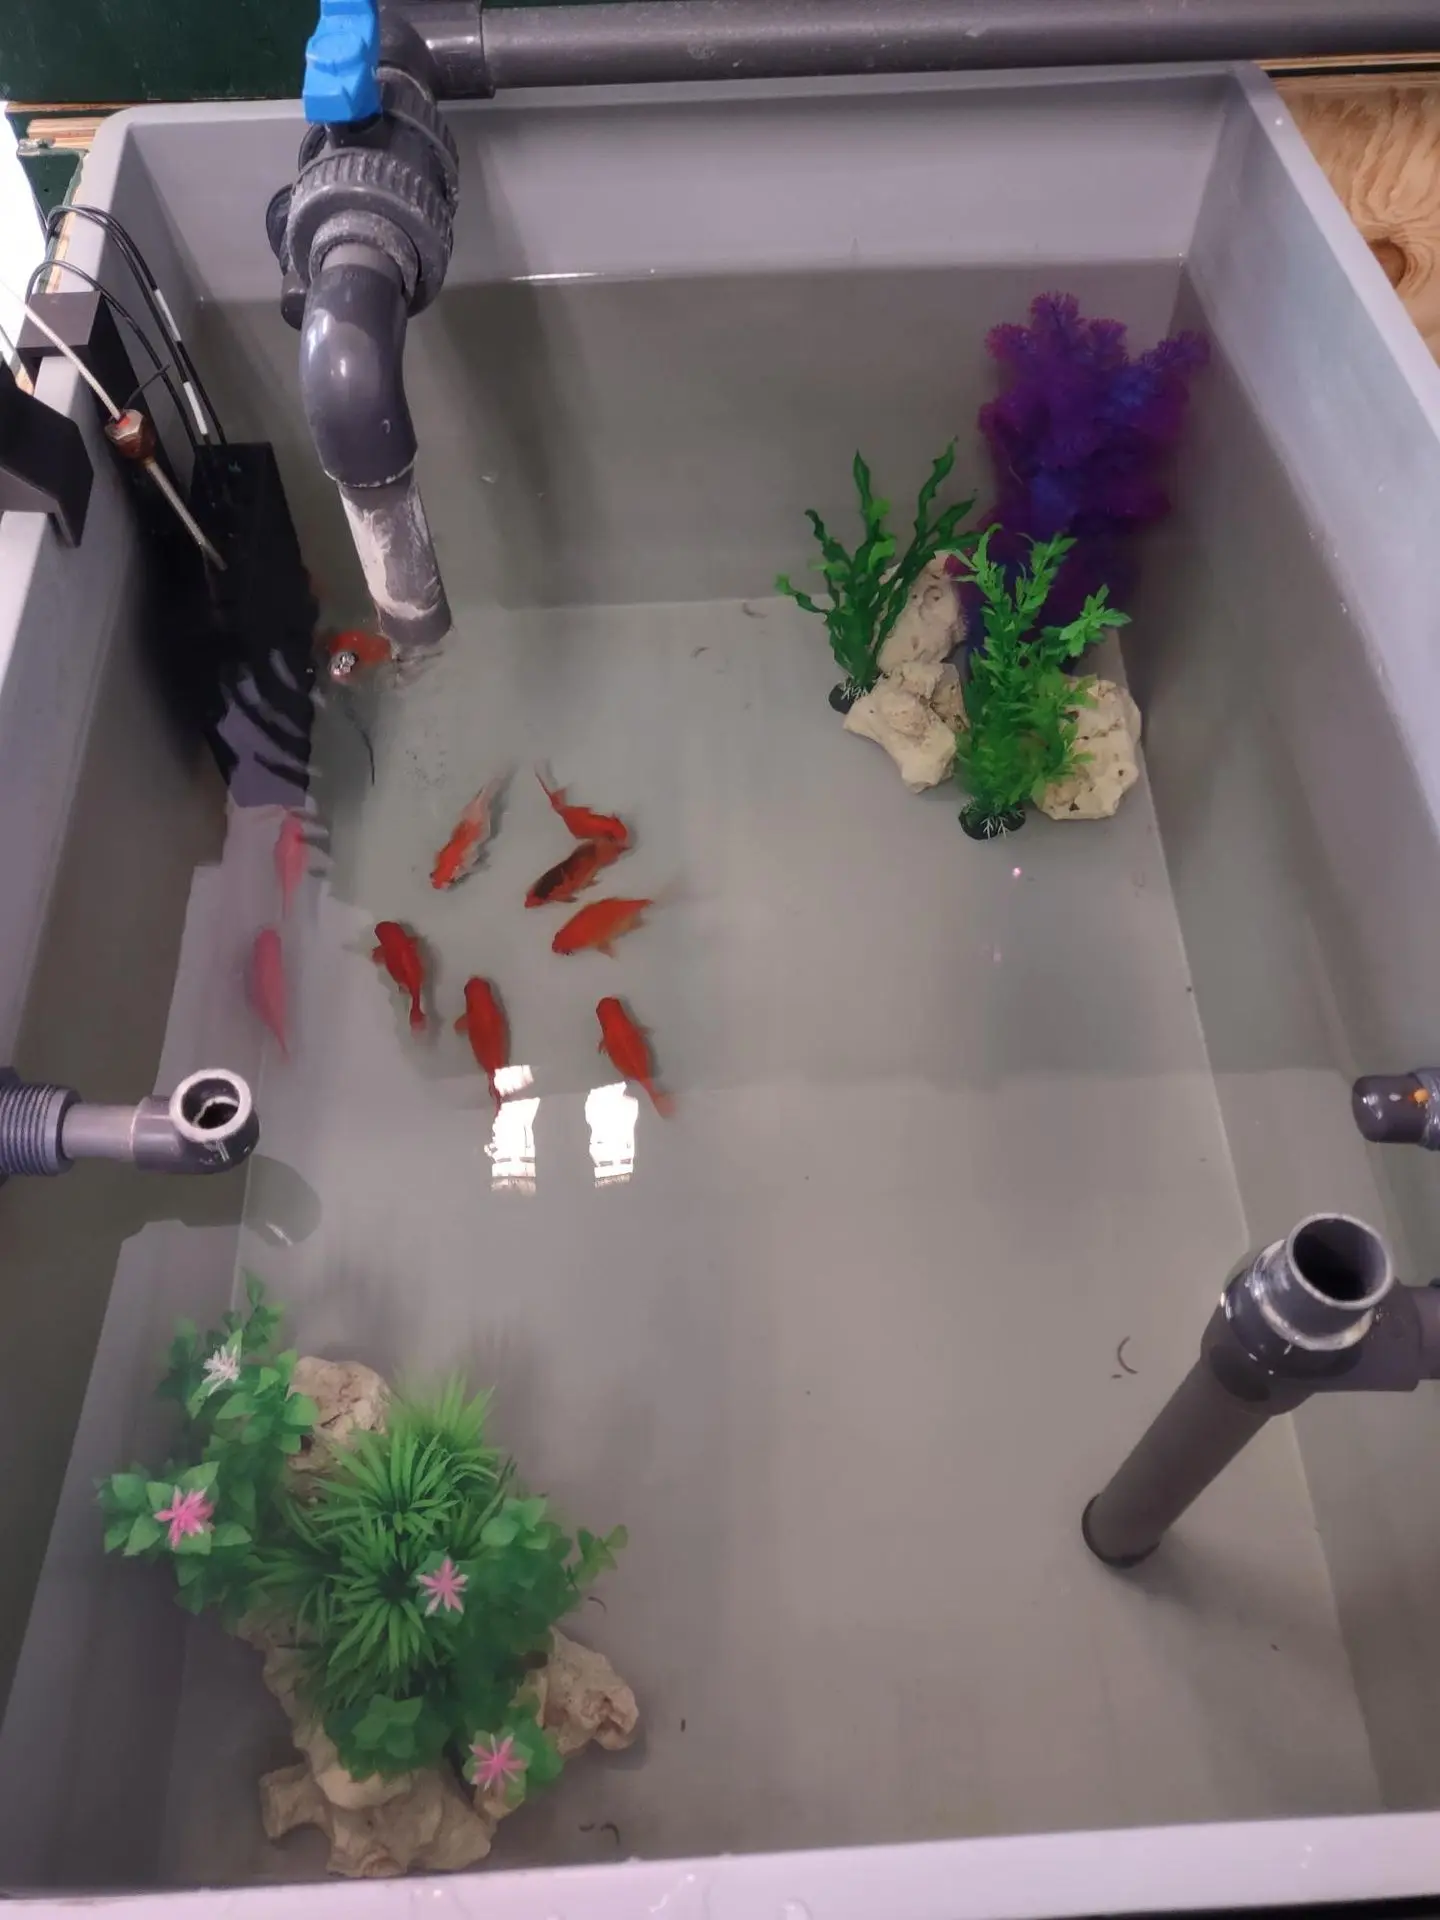
- Fish Tank Decoration: You may be tempted to decorate the fish tank with aquarium ornaments to make it more visually appealing and provide a more stimulating environment for the fish. This is generally not recommended, as debris can get caught on the decorations, polluting the water. If you do add decorations, be prepared for increased cleaning efforts.
- Water Loss: The system constantly loses water due to evaporation, plant transpiration, fish splashing, filter cleaning, etc. Therefore, it is advisable to set up the system near a water source. Counteract evaporation by covering water surfaces as much as possible. You can also place a dehumidifier in the room to regulate humidity and partially capture the evaporated water, returning it to the system.
- Water Tests: Regular water tests are essential to provide optimal growing conditions for the fish and plants! Regularly use aquarium water tests (e.g., for oxygen levels, nitrate & nitrite, hardness) or modern sensor technology.